Tuesday 29 September 2015

Finally Wearable - French Jacket #2

I didn't realise how long it has taken me to finish this and get pictures.... back in December 2014 I shared my progress with my second French Jacket here. It was 99% finished back in December, but it look me forever to put the buttons and the chain onto it.

Untitled

Untitled

Untitled


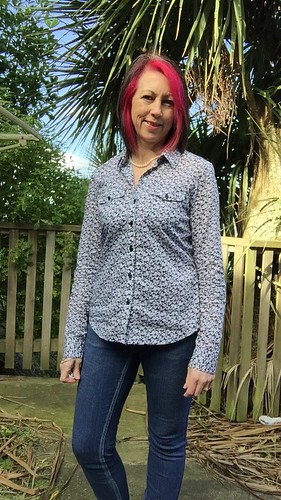
To be honest I was a bit disappointed with it once I finished putting the jacket itself together.  Mainly because of the sleeves.  This jacket was a mash together of two patterns - V7975 for the body and V8804 for the sleeves.  I cut a size 12 from both patterns.

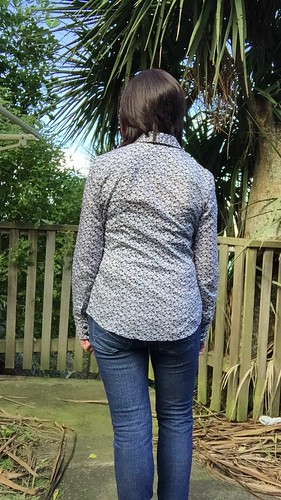
I had used V7975 for my first Jacket so knew that the fit would be fine. I just needed to make a couple of adjustments to provide more room across my back.  I add 1/4" to the shoulder blade on the side back piece, added 1/8" to the shoulder seam on the side back and another 1/8" to the shoulder seam at the armhole edge on the side front pattern piece.

Now, the sleeve on V7975 is a two piece pattern and I really wanted to try and three piece sleeve. So I took the pattern pieces from V8804, checked the armscye measurements on the sleeve and the jacket to make sure they would fit together - no problem, no adjustment needed.  I also checked the bicep measurement of the sleeve.  The only adjustment I needed to make was to the sleeve length, to which I added 3".

LFJ 2

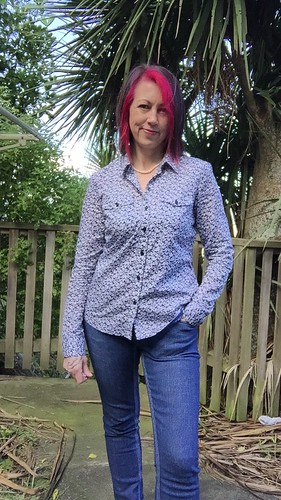
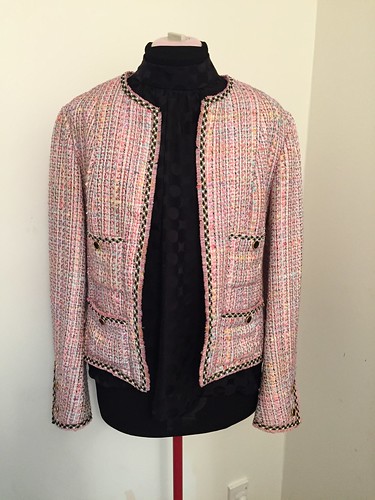
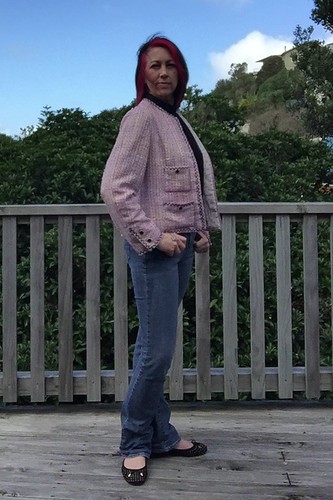
It all came together real well, but the final finished look of the sleeve left me deflated.  There was just too much ease around the arm, which makes the jacket look all sleeves!

Untitled

Untitled

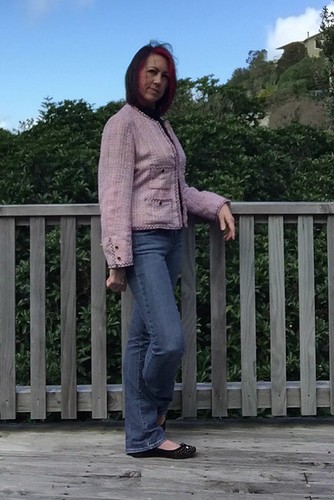
The slight adjustment across the back has given the jacket just that little bit more freedom of movement that my first one doesn't quite have.

Untitled

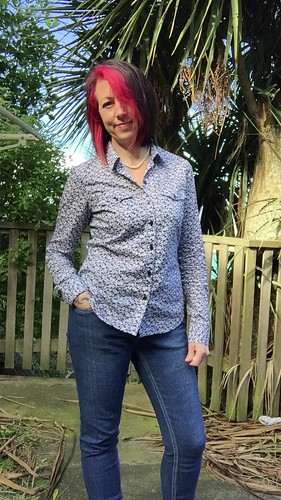
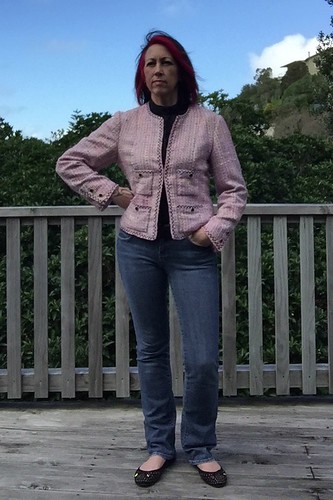
I also think that I fluffed around finishing it because I really wasn't sure how I was going to wear it without it ageing me 20 years (thanks to some very frank observations from my daughter)!  Hopefully the jeans and black Marfy top keep the look fresh and now.

Untitled


More photos on my Flickr -->


Saturday 26 September 2015

Refining the Granville

Third time lucky ... well so the saying goes anyway.

Untitled

This is my third Granville Shirt. The first was HERE and the second HERE.  But even though this was the third I felt that there were still further adjustments I needed to make to refine the fit.

For this version I left all the previous adjustments in place, you can get that list here, and then made the following tweaks
  • Added 1/4" to front side seams
  • Added 1/4" to the side back side seam - both these adjustments were so I could get more room around the body.
  • Added 1/4" to each side of the sleeve under arm seam, tapered to existing wrist edge - again giving me more room around my arm.
  • Added 1/2" to the length above the waist.
  • this time I added 1" to the original pattern length of the sleeve.
Although minor, the fits feels better and I'm much happier with the length of the shirt.


Untitled

Untitled

For this version I included the pocket flaps - although this is the only tell tale sign that there is actually pockets there.  They are lost amongst this lovely cotton poplin I got from Blackbird Fabrics. Including postage it worked out to be NZ$18 p/m which I thought was very reasonable.

Untitled

Sadly I didn't take any photos of the inside, but I finished all the seams with a french seam finish, except for the armscye, which I finished with some Hug Snug binding.  I also applied Hug Snug to the hem and then turned it up and sewed it down.  It provided a much nicer finish to the hem rather than turning it up twice, especially around the curve.  It makes the inside look interesting as well.

I'm really lovin this shirt and it works well with my Ginger Jeans.

More photos available on my Flickr -->