Showing posts with label Chiffon. Show all posts

Saturday, 4 April 2015

Chiffon Marfy Top

This top is a really old make that I've been trying to decide whether I make again or not - this was my wearable muslin.

Marfy Chiffon Top

I picked up this colourful chiffon for $3p/m at a Fabric Direct Sale last year, and not just a couple of metres, oh no, there was 5 metres left of the roll so I got the whole thing! I paired it with some simple black chiffon that I got at the Arthur Toye closing down sale for $5p/m. So you can now see why I'm calling this my wearable muslin.

Marfy 3450

The pattern is Marfy 3450 from the 2014/15 catalogue, the first that I ever bought. What drew me to this pattern was the neckline with slits down the raglan sleeve. I cut the fabric exactly to the pattern in a size 46. The overall fit is fine, even the sleeve length is perfect.

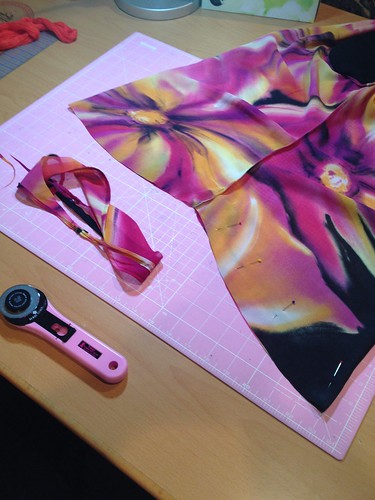
After I cut the sleeves I realised that they were going to be very full and boofy! Not really me, so I removed 1.5" from each side of the sleeve at the cuff, grading it to 0 at the under arm edge. This gave me just enough to have a small gather around the cuff.

Marfy Top 3450

The cuff is folded in half, interfaced on the under half.  They are really comfy.

Marfy Chiffon Top

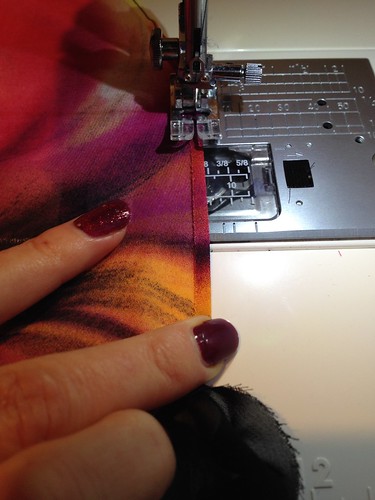
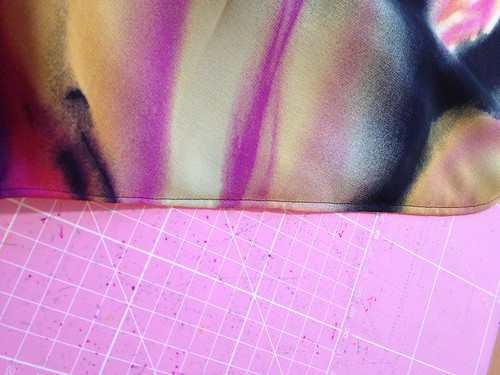
I used a french seam finish on all the side seams and sleeve seams.  For the hem I used a hairline seam technique on the machine using Gertie's video on You Tube.
Marfy Top 3450

... and it gives this really pretty finish.
Marfy Top 3450

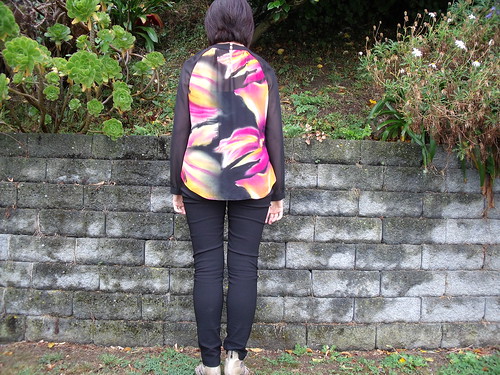
The pattern didn't provide any indication of how the back closure was to be done. Marfy patterns don't have any instructions, but usually there are enough markings on the pattern to indicate what goes with what. I decided that I would use a couture technique that I learnt when making my free Marfy top HERE and keep the collar closed with a couple of hooks n eyes.
Marfy Chiffon Top

I was pretty happy with the top once I finished, given that I didn't have to make any major fit changes. I put it in my wardrobe and wore it a few times before I decided that there was just something about the hem that was bugging me. Back to the sewing table it went ... I needed to take some length off the front, oops forgot to note how much I removed, but it looks like about 1". At the back is only took enough off to remove the existing hem.
Marfy Top 3450

I think it has better balance now.

Marfy Chiffon Top

Conclusion: I do like how easy the top is to wear, but I'm not a fan of the front slits in the raglan sleeve seam. They are located in a place that is constantly moving so they don't sit nicely like the sample photo indicates. I think the top would be just as nice if the slits were sewn closed.

More photos on my Flickr -->

Monday, 17 November 2014

Inspiration Station

It's not often I copy a RTW look to the tee.  Usually I troll through Pinterest or designer websites for inspiration on styling and the detail that leads me to what I pull together.   On one of my 'internet window shopping' sessions I came across this dress...

Belcarra Dress Inspiration

I thought this dress would be the ideal, easy wear, summer, work appropriate addition to my wardrobe - simple but classy.  Immediately the Belcarra top pattern came to mind - how easy would it be to simply add some length to make it a dress.

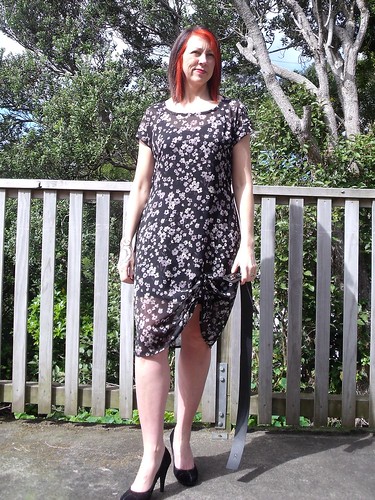
I went to the depths of my fabric stash and found this black crinkle chiffon (well that's what I'm gonna call it anyway) with a small floral print.  I bought this online a wee while ago and it wasn't what I expected when it arrived, so I figured that if the dress didn't work out then I wouldn't be too disappointed.

Belcarra Dress

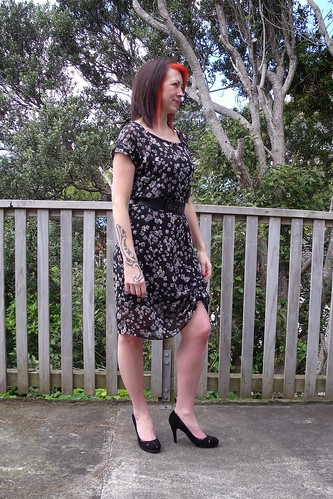
When I made my first Belcarra top I selected a size 10 based on my bust and graded to a size 8 at the hip, resulting in a great fitting top.  I used exactly the same size selection for this dress and extended the bottom of the top straight down by 17".  However, the fit on this has a completely different result.

Belcarra Dress

It has way and I mean waaaay too much room around the waist and hip area.  I considered taking it in, but the seams have a french seam finish, which would mean unpicking the sleeves in order to get to the side seams and re-shape them.  The fabric is so fine, I was worried that I would cause more damage and render it completely unwearable, so no picking here.

My next thought was to add some elastic across the middle of the back at the waist.  I cut a 2" piece of 1/4" elastic and stretched this as much as I could while attaching it with a zig zag stitch.

Belcarra Dress

While that made a small improvement, I feel that it's still too big.  Thank goodness for a belt!

Belcarra Dress

There, that looks better already.  Okay, now we can move on to more of the details ...

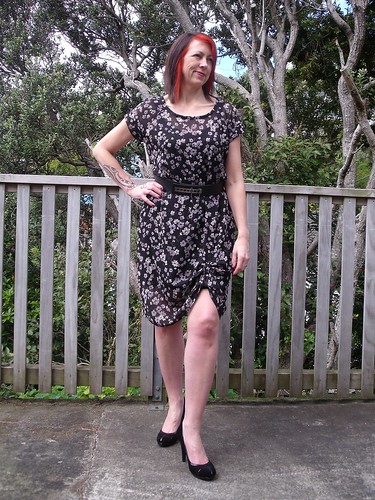
I hoisted up the hem over the left leg ... I don't know why, but it just felt better, than on the right side.  Firstly I made a tab  3" wide by 7" long, folded it in half, sewed up two sides and turned right side out.  I then created a buttonhole in the dress, horizontal to the hem, 7" up from the hem - I applied a small amount of tailors fusible interfacing to stabilise  the fabric before sewing the buttonhole.  I threaded the tab through the buttonhole and hoisted up the hem then closed the tab using a few hand stitches.  Sorry, didn't take any photos of this process - brain was too busy working overtime trying to nut this out!

I decided that the lift in the hem wasn't dramatic enough, and the dress still looked like a sack, so promptly repeated the process making a second button hole and second tab, this time threading the tab through both button holes.

Belcarra Dress

Now that the fabric is made up into a dress, I actually don't mind it and will probably get loads of wear out of this dress over the coming summer months.

More photos on my Flickr -->