Showing posts with label silk crepe de chine. Show all posts

Friday, 17 March 2017

Pink Floral Sweetheart

Pink Floral Dress

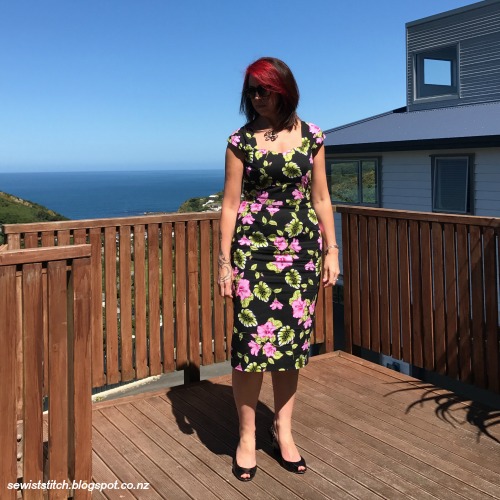
This dress was fun but challenging at the same time. First the fun ... I found this fabric by accident while on holiday in Rarotonga earlier this year, and immediately knew it would make a lovely summer dress while still keeping within my wardrobe comfort zone ... because it was black? probably!

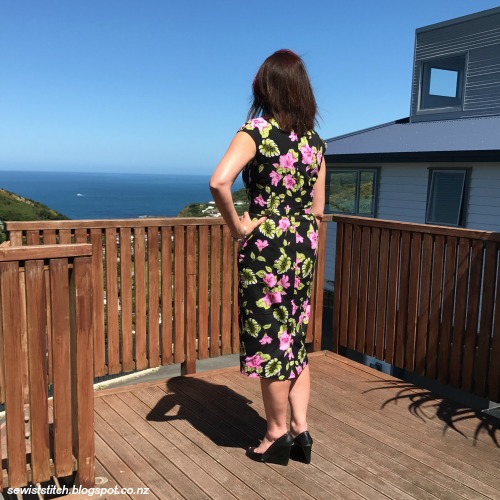
The challenge ... to mash together two separate patterns into one dress that looked like it was meant to be. The top is the Sewaholic Cambie pattern and the bottom is the Billy Jean pattern by Bluegingerdoll.  Both dresses I've made before quite a while ago, and well, the body has changed a little since then.


Then came the cheating ... in theory, the side seams and dart legs of the top are meant to be in the same vertical line as the skirt, right?! Hmm, did I really need to fluff with getting that right if the skirt and top are separated by a waist band and the floral print would act as a camouflage ... NO! Can you tell? NO!  #winning

Pink Floral Dress

Pink Floral Dress

With this dress I experimented a bit with the underlining. I took my silk organsa and underlined all the front pieces and the top half of all the skirt pieces.

A couple of reasons really.  I didn't want the dress to be too heavy but I did want the front to have some structure. The top half of the skirt needed to fall over my hips without showing every curve but the bottom half really didn't need it. Unfortunately I can't find any of my 'work in progress' photos to share with you :(

The dress is also fully lined, but with separate fabrics for the top and bottom.  The top half is lined with some silk crepe de chine from The Fabric Store. Something I bought a wee while ago at a good price because of colour inconsistency. No one gets to see the lining, so not a problem. The skirt is lined with some 'new to me' lining from Hawes and Freer Ltd, from their Superwash range. It is heavier than the crepe de chine which helps give another layer of fabric over the hips and butt and helps the skirt fall really nicely. It skims over the body and moves so nicely, but doesn't look bulky, and so far no static! I think I'm sold on this as a lining for skirts!

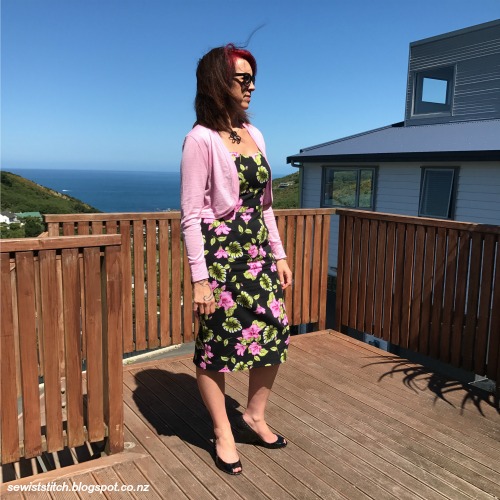
To finish the look I picked up some baby pink merino from Levana and whiped up this cute little bolero.

Pink Floral Dress


More photos in my Flickr album -->

Saturday, 23 May 2015

Belcarra Tunic

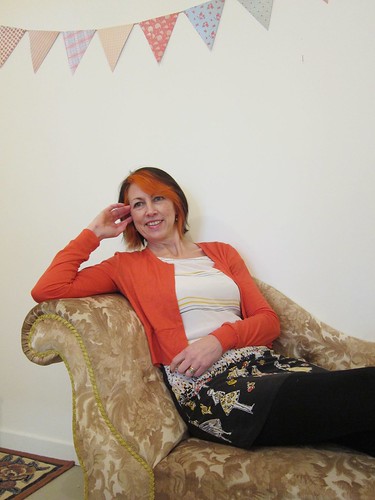
When I purchased the Belcarra from Sewaholic I knew that it would be such a versatile pattern that I could manipulate to get multiple looks. This is my third look from this pattern.

Belcarra Tunic

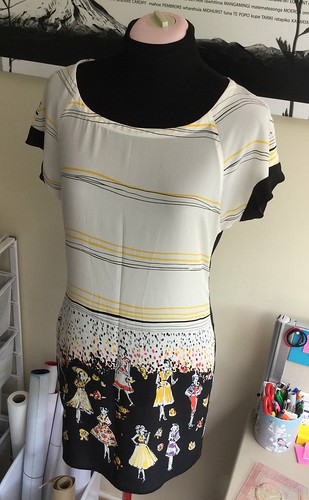
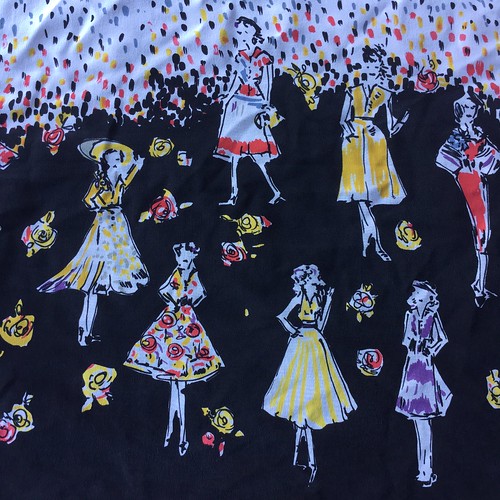
This time a tunic!  I walked into The Fabric Store on 12 September 2014 and immediately fell in love with this border print.  I was there for another quite specific purpose, that alludes me just as this moment - coz every trip to the fabric store is for a specific purpose right!!!

It wasn't cheap at $36 for 1 length which was 1m x .95cm, but it was crepe de chine and felt soooo nice. After wrestling for some time with my inner voice I gave in a bought a metre. The border print is filled with pretty dresses in pretty colours ....

Belcarra Tunic

It's been sitting in the cupboard for a wee while because I couldn't decide what to match it with, until a few weeks ago, when I was back at The Fabric Store, I found some black crepe de chine on special for $10p/m.

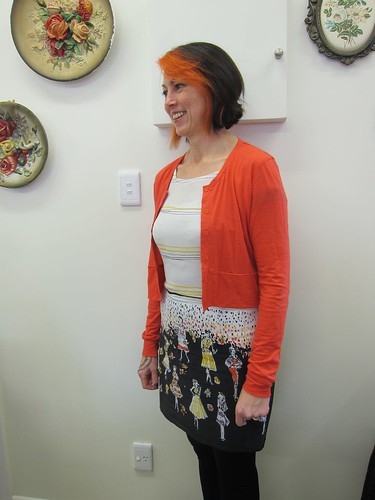
I used every little scrap of the boarder print on the front and sleeves.  I then used the black for the back and the sleeve bands.  Because I didn't have enough of the boarder print for the neck binding and the black would have shown right through the cream, I had to use some knit tricot that I had in the stash - oh the joys of having a stash!

Belcarra Tunic

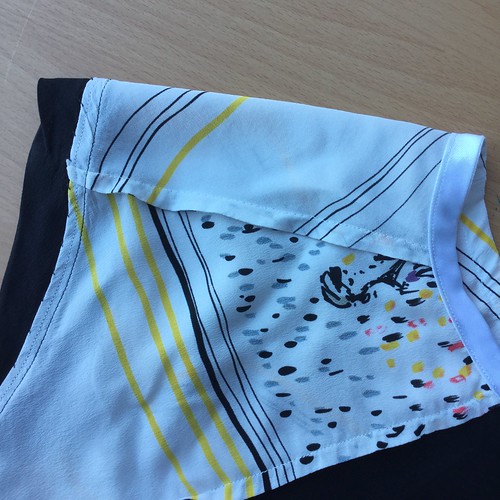
All the side seams and shoulder/sleeve seams are finished with a french seam. The sleeve cuffs where sewn as normal, right sides together, but then I graded the cuff seam allowance and turned the cream over and run another line of stitching around the seam allowance - the cream encasing the trimed raw edges of the black cuff.  The seam allowance had to be pressed towards the cuff so it wouldn't be seen through the cream sleeve. After a good press I tacked the seam allowance to the cuff by hand.

The bottom hem I used a hairline seam technique that is so easy and looks so great.

Belcarra Tunic

I fiddled with the pattern sizing a little more this time, after my dress version had way too much room around the waist and hips.  I traced the pattern off again, this time tracing a size 8 for the bust and graded it down to a size 6 at the waist and hips.  It's a little snug around the hips this time, which isn't the look I was going for, so somewhere in-between both sizes would be ideal for next time.

Belcarra Tunic

You may remember in my last post I talked about the WSBN 0 Degrees of  Sewing Separation Challenge... well this is my second link in the chain.  For the fabric I link to The Dreamstress who made a beautiful Dorothy Lara dress and for the pattern I link to The Crazy Gypsy Chronicles.  The full chain of links can be found in this post by The Dreamstress.

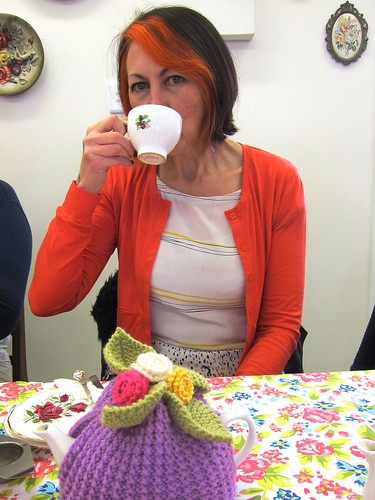
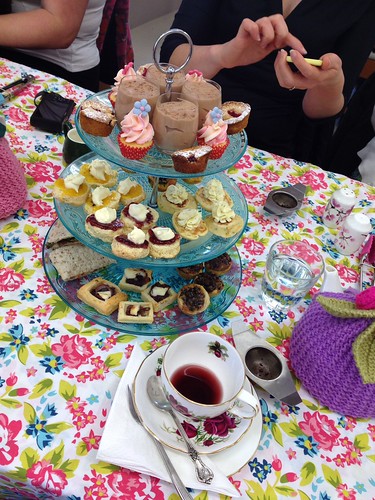
Thanks to The Dreamstress for taking some photos yesterday at our WSBN get together for High Tea.
Belcarra Tunic

WSBN High Tea 23 May 2015

More photos on my Flickr

Tuesday, 14 April 2015

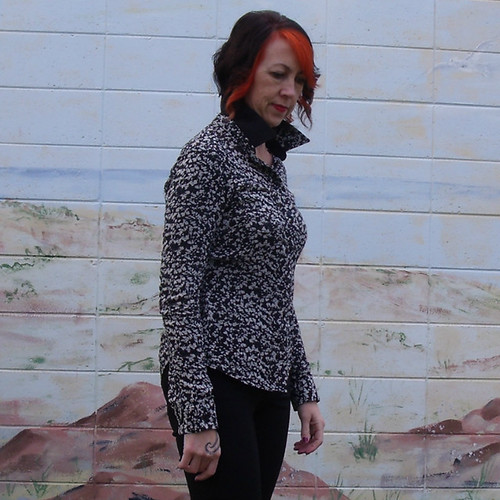
Silk Granville Shirt

Silk Granville Shirt

After finishing my wearable muslin (which I haven't blogged yet, oops! but will explain more soon...) I immediately made the following changes to the pattern pieces of the Sewaholic Granville Shirt:
  • moved the side dart and waist down 1/2" using the cut and slash method above the bust on the front pieces and the two back pieces.
  • I didn't want to change the length of the shirt, so I removed 1/2" at the high hip on all three pattern pieces.
  • I added 1/8" at the waist by the front and side back pieces, created an additional 1/2" of ease all round.
  • I added 1" to the original sleeve pattern piece.
This shirt is a little difficult to get a true read on fit because the silk is so mobile, but it is feeling like the changes worked.

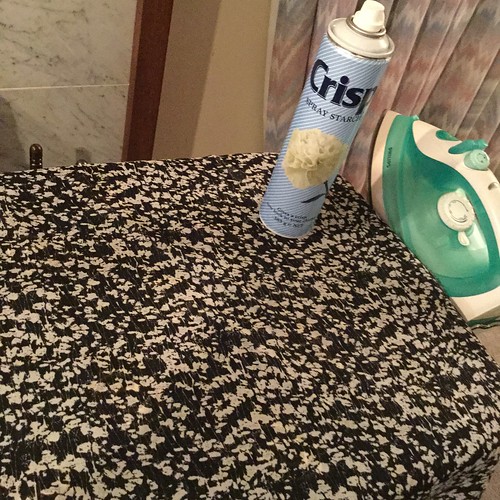
To keep the silk under control while sewing I used some starch spray, ironed it in and then left it overnight to set. Not sure that you need to let it set, but once it was dry the silk had a wee bit more control.
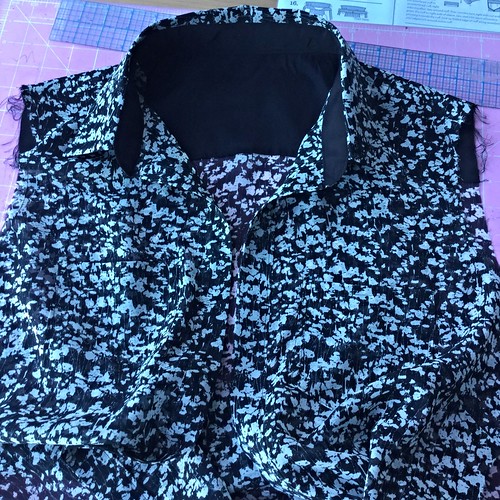
Makings of a silk Granville Shirt

I wanted to add some structure to the collar, collar stand and cuffs - so rather than using a really heaving interfacing I elected to use some silk crepe de chine on the underside of these pieces. I applied the interfacing to the crepe de chine pieces so the silk would move loosely over top . I love the end of result of this.

I think I should have used the crepe de chine for the sleeve plackets because constructing these with the silk was just a real pain in the arse! They are not pretty!!!

Makings of a silk Granville Shirt

Silk Granville Shirt

I finished all the seams with the french seam technique including setting in the sleeve. This is the first time I've used the french seam to set in the sleeve and I was so nervous about sewing it the wrong way I must have triple checked it twice over, each time.  It was relatively easy to do and the finish around the sleeve is now just as pretty as all the other seams.

Because the silk was so delicate I used a 70/10 needle in my machine and purchased some machine embroidery thread which is much finer than the standard polyester thread. I would definitely recommend it - I'll be using it again for other fine silk / chiffon fabrics. I also put my walking foot on my machine to minimise the movement of the fabric.  A combination of all these bits and pieces made sewing the silk very enjoyable.

I used the hairline hem technique which I've used more than once before, but this time it's a bit of a mess - not sure what I did wrong this time, but really wish I'd done a rolled hem by hand!!

You can't see in the pictures but there are pockets on both sides of the front. I probably didn't need to put them on because the fabric is so busy you can't see them, but I know they're there.

Silk Granville Shirt

This time round I made a much better job of the collar stand. I drafted a collar stand template like Tasia recommended in her tutorials, marked the stitching line on the fabric and then followed on the machine. The silk was easy to tuck out of the way, resulting in the ends of the collar stand looking identical. Whoop, whoop!

The sad part is that the weather in this part of the world has just turned terribly cold - you know coat and gloves cold!  So my lovely silk shirt will probably have to hang in the wardrobe until the end of the year then the warmer weather rolls around again.  I had to put a merino on underneath to take these photos!

Silk Granville Shirt

Anyway more about why I've blogged my lovely silk version before my muslin version of the Granville Shirt ... well you know that the Wellington Sewing Bloggers Network (WSBN) get up to all sorts of sewing fun that also includes fabric enabling and pattern shopping :-)  The Dreamstress put this idea to the group: "Could the Wellington Sewing Bloggers Network create a linking chain of sewing creations, where each person’s creation shares a fabric or pattern with the next person’s creation?"  And so the 0Degrees of Sewing Separation Challenge was born.

Sew Along

This was probably the hardest challenge we've had so far, it took a few months to sort out our connections and how they would link into a chain, but we got there in the end.  I am second in the chain matching the Granville Sewaholic pattern to Silly Billy Sewing who ended up being twinsees with Two Random Words.  The chain continues with Fifty Two Fancies using the same fabric as me to make a pattern shared with another.  You get the picture right!  For the month of April we are unraveling our 0Degrees of Sewing Separation with a blog tour.  If you are interested in reading about our antics head over to The Dreamstress who is updating her blog daily with each reveal.

Silk Granville Shirt

More photos of my Silk Chiffon Granville over on my Flickr -->