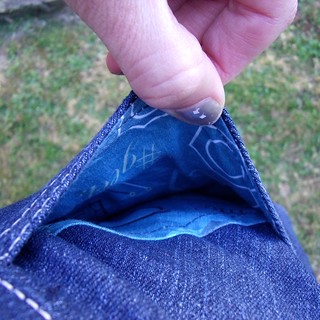
I have only ever sewn jeans using the Jalie 2908 pattern. There has been something about the crotch of the Jalie that I haven't been able to figure out, so I've got three new jean patterns to try so I can try and work out what I like or don't like about the fit of each and then produce 'THE' jean pattern for me.
First up is the mostly recent release, the Ginger Jean by Closet Case Patterns. I had been stalking other blogs, to get a heads up on anything to watch out for. But as other blogs have indicated the pattern is well drafted and the instructions are thorough. So let's take a look at the final result ... I made view A: low rise with stovepipe leg.
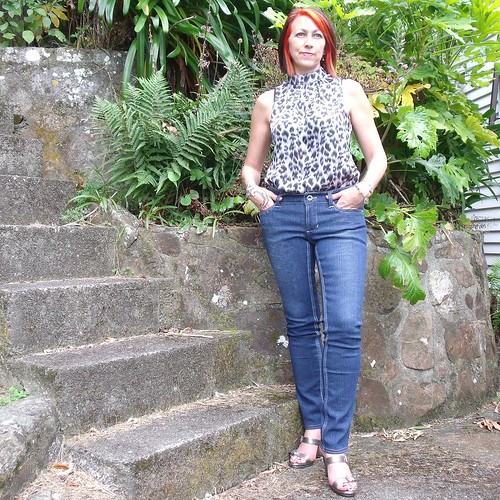
First impressions: I think they fit reasonably well and don't look too bad for a first attempt of the pattern. This is my 'wearable muslin' if you like.
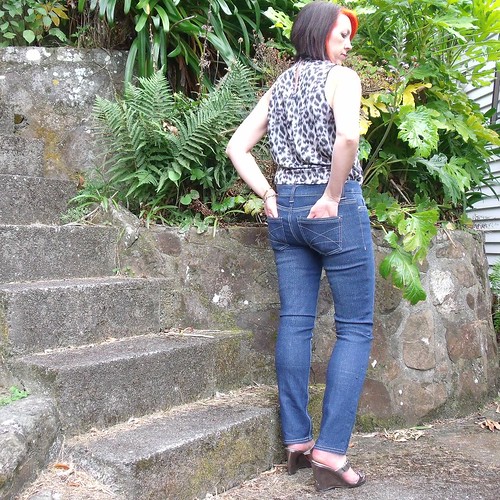
Accordingly to my body measurements the size 12 was the fit for me, so a size 12 is what I cut. The pattern recommends that you baste the pieces together for a fit test to see if any adjustments need to be made before spending hours constructing only to find that they don't fit. Just as well I did because I was swimming in denim. The pattern recommends stretch denim with at least 2% lycra, which is exactly the fabric I used, so I thought that there would be a little negative ease to account for the lycra, but that doesn't appear to be the case.
I unpicked all the basting stitches and reduced the pattern pieces to a size 10. I basted them together again for another fit test. Much better, just small tweaks to make this time. The one I expected was the "too much fabric under the butt" scenario (which I now have a fix for), too much fabric around the knee and too tight around the calf.
To fix the problem I have with excess fabric under the butt I created a crescent leg, which is a fitting technique I learned from Kathy Ruddy, teacher of the Craftsy course 'One Pant, Many Looks'. The crescent leg is her term for something she discover one day and it involves removing a crescent shape from the side seam of the back pattern piece at the butt, therefore reducing the amount of fabric around the leg in this area.
I immediately knew that this would work, because when I was sewing up the Peter & the Wolf Pant by PaperCut Patterns I noticed the slightly strange shape of the side back pattern piece. This is the shape created when the crescent technique is applied. My Peter & the Wolf Pant are a good fit and I didn't have any excess butt fabric to worry about with that pattern.
Once cut the leg looks like this ...

Then I decided that the excess fabric at the knee and the additional room required for my calf could be solved by using the same crescent or reverse crescent technique in the knee and calf areas, but this time I would apply this to both the back and front pattern pieces. The side seam of the back pattern piece now looks like a windy road!
 |
| The pink line shows the reduction at the knee flowing down to the full calf adjustment |
The jean looks more like a skinny fit than stove pipe now, but when I put them on my daughter said to me that the bottom of the leg (near the ankle) wasn't a skinny fit and looked weird. Personally I quite happy with it, because if I put a pair of heels on they fall nicely. I added another 1" to the length of the pattern pieces, which has worked out perfectly for this style.
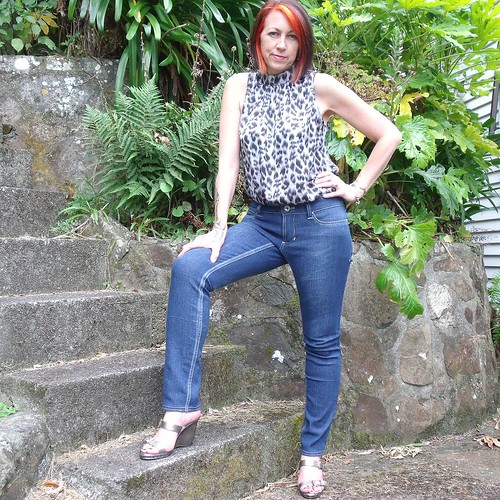
I am still in love with the light grey top stitching I used on my Moss Mini, so went and bought another two spools for these jeans, together with some shinny silver rivets.

As you can see these jeans have been lightly distressed, using my learnings from the Moss Mini. I went back to Bunnings and bought a 220 grit sandpaper sponge to see that made a difference to the distressing, because it is finer. I don't think it did, the distressing just took a little longer and more elbow grease!
Sewing jeans means that I get to play with an array of hardware rather than just the sewing machines... sandpaper, hammer, rivets!
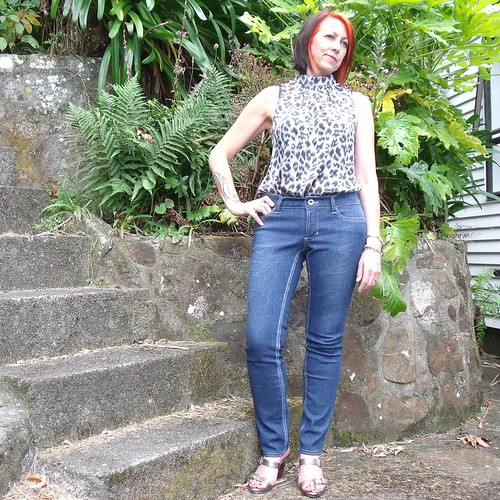
I actually finished these jeans about mid January but I wanted to wear them before drawing my final conclusion of the pattern. We are in the middle of summer so jeans haven't been on the wardrobe rotation. This weekend has been a bit chilly and gave me the perfect opportunity to test drive 'in real life'. I've been wearing them with a belt which makes all the difference to the jean staying put on the body.
I prefer a low rise jean but sometimes that means hiking up the back every time I stand up. Initially I thought that would be the case with this jeans as the top of the waist band slightly stretched during sewing, but I was wrong! Next time, I might take a small wedge out of the waist band to accentuate the curve more and provide a closer fit at the top of the waist band, as well as removing a smidge at the inner leg seam just below the crotch.
They have been most comfy to wear. The crotch curve and crotch intersection are all working in synergy and feel great - much better than the Jaile jean, in my opinion.
More photos on my Flickr -->