Monday, 25 November 2013
Floral - Summer - Wiggle
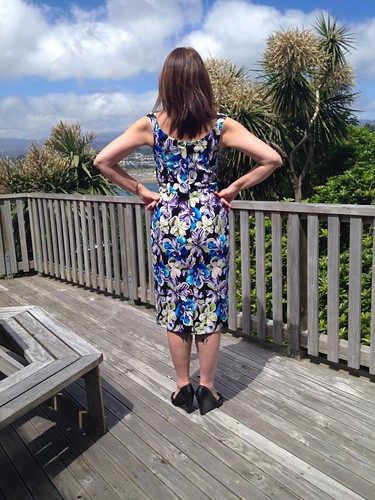
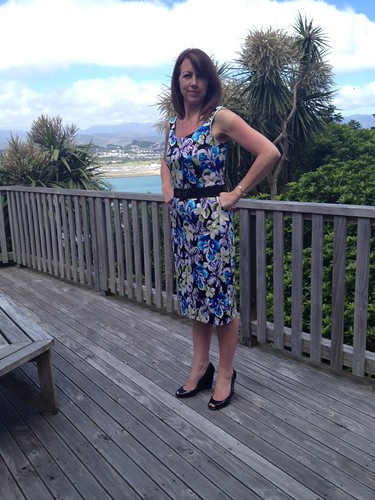
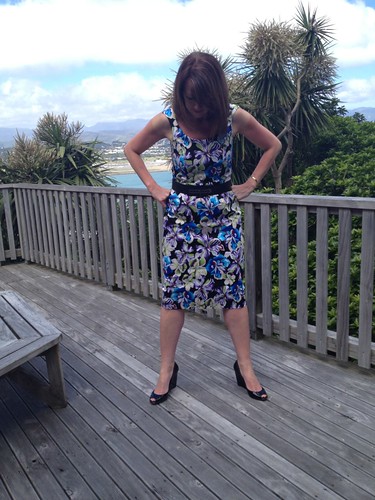
This cute little baby is my first ever full on floral dress (can you believe it!), and I am super in love with it. Yay for the gorgeous summer days we've been having lately - no hanging around in the wardrobe for this dress.
As some of you might know I'm a little obsessed with Instagram atm and this wee obsession allowed me to be one of three lucky people to get a discounted 'end of stock' pattern from Blueginerdoll. Abbey had rebranded all her pattern packaging and was looking to off-load the last of the 'old' Billie Jean patterns.
Actually, I was sitting on the fence about the pattern cause I just wasn't sure about the shoulder straps. The discount was just enough to tip me over and I must say it hasn't disappointed.
While I was in Auckland earlier in the month I managed to get in a wee bit of fabric shopping. This lovely cotton sateen just kept calling my name and I kept walking away saying 'I don't do floral', but in the end the colours just drew me in. I actually bought three pieces of fabric that day and this is the only one that has made it to my sewing table.
Billie Jean is described as a wiggle dress, but I actually have a heap of room to wiggle around in. I think the pattern is very cleaver in that it looks super body hugging, but doesn't feel that way at all. When walking it does call for small step, especially when paired with these shoes :).
The construction methods are fabulous making it almost impossible not to be able to line up the bodice princess seams with the skirt darts. I think I might adopt this method for other patterns now.
I lined this dress with a black cotton viole, the perfect choice for a summer dress. I did debate with myself about the length, but went with the pattern recommendation and think that it adds to the charm of the dress.
If you are sitting on the fence about this dress, there is no reason to be any more. I'm sure my Billie Jean will get loads of wear this summer.
More photos on my Flickr -->
Sunday, 17 November 2013
Oh to be like Jackie O!
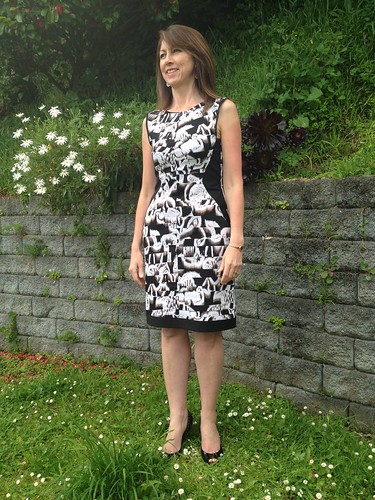
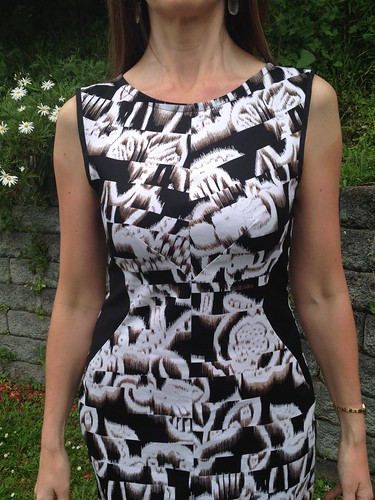
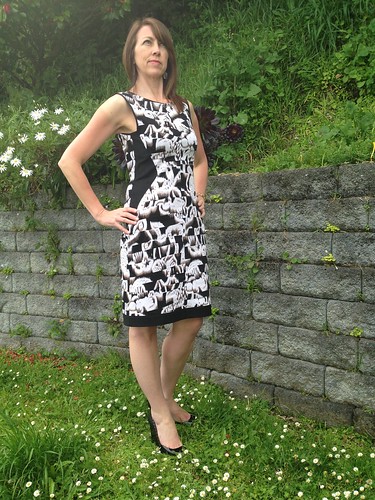
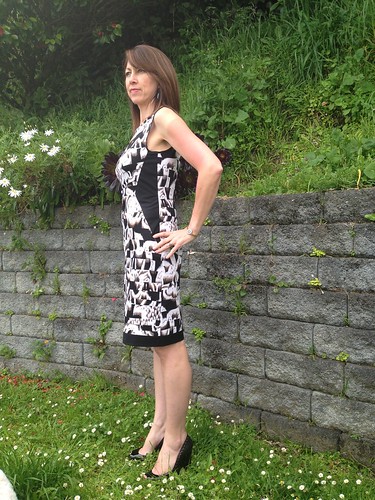
This is the Brasilia Dress by House of Pinheiro. A Jackie O inspired sheath dress that Rachel produced for the Fall for Cotton sew-along.
When I first saw Rachel's dress I thought it was to die for. The inward darts at the bust are so unique - don't they just give the best shape to the dress.
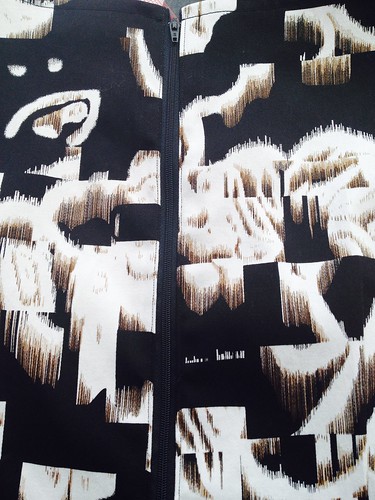
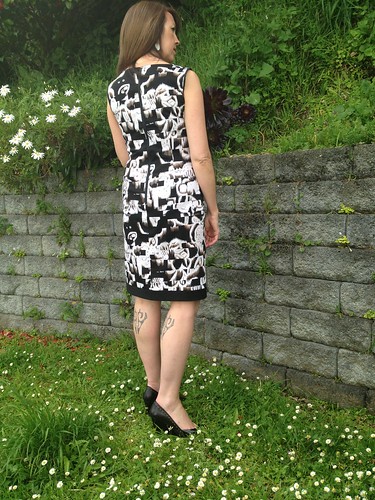
I found this cotton sateen at the Fabric Barn in Lower Hutt. I really wasn't sure about fabric until this one jumped off the shelf and into my arms! I've used a solid black cotton to highlight the side insets, and to balance it up I've used the solid black along the hem as well. I love the result, it gives my rectangular body shape the illusion of a curvy waist - yay me.
 |
| please ignore my sunburn lines - too much sun wearing my t-shirt. |
Because Rachel is so tall I had to remove some length from the torso area. This felt a little strange because usually I have to add in length on most other patterns because of my height. Anyway I removed 1.5" from the torso in addition to the .5" that was removed with the SBA.
I over complicated things a little trying to get the side insert correct after the SBA and removal of length and I've ended up with the front of the armhole looking a bit weird. To overcome this I applied the bias binding so it formed a visable band around the armhole. The weirdness is only noticeable when I move my arms backwards or stick my boobs out too far!
 |
| a weird armhole shape goin on! |
The black band around the bottom was cut 2" deep and folded in half and applied to the hem as you would a bias binding. This gives the dress an appropriate length that I could wear to the office without feeling like I was bearing too much leg!
The pattern recommended an invisible zipper but I thought for my fabric and blocking of colour it would be nice to do an exposed zipper - I love this feature, although I can't see it once I've got the dress on.
Usually I line ALL my dresses, but I decided not to line the Brasilia. It is very comfy and fits like a glove. It will be ideal for those hot summer days in the office.
I was a bit late to the pattern testing party (yay instagram), but I am so pleased Rachel allowed me to test her pattern. Overall I love it and would definitely consider making another one.
If you are interested in stitching up this dress, it is due to be released on Christmas Day. Keep an eye on Rachel's blog
More photos on my Flickr -->
Tuesday, 5 November 2013
Custom Made Bolero
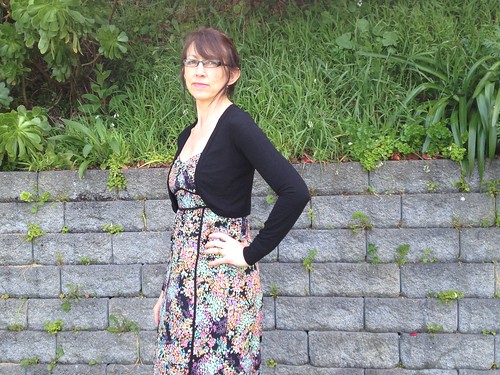
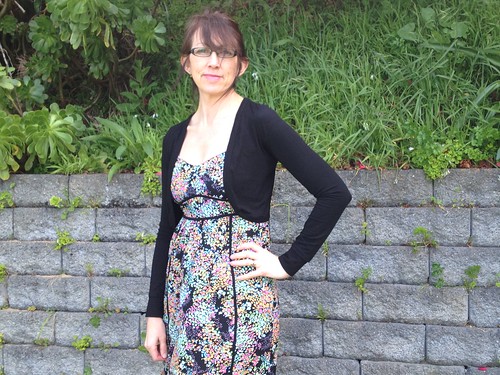
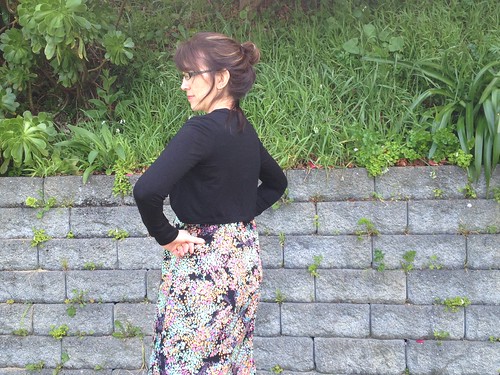
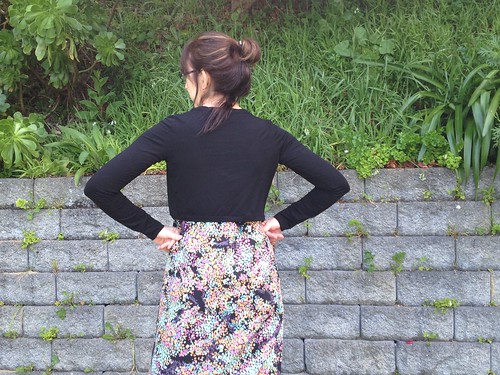
I've made a few dresses lately and felt I was missing the one garment that would compliment them while keeping me warm as we transition through spring into summer. Introducing the little black bolero!
This is a bit of a mis-mash of patterns. First I started with the Sewaholic Renfrew which forms the base of the garment. I reduced the length of the front and back pieces to 15.5" from base of neck to waist. Then I took McCalls 5006 to shape the front, which I had previously used to make THIS tie front cardie. Lastly I used the band technique from the Papercut Patterns Circle Top I made HERE and HERE
I inserted the sleeves flat, just 'cos it's easier, then whipped the machine up the side and sleeve on both sides.
I flat measured the curved edges of the front, the bottom edge of the back and the neckline to determine how long to cut the band. This is applied as you would bias tape.
I cut the Renfew in a size 4. I removed 2" from the middle of the front, as I didn't want the fronts to meet but to just sit over my bust. I made this with a cotton lycra, which I had bought to make multiple Renfrew's for the winter to wear under stuff as an extra layer - but didn't actually get there. So the fabric still made it to a Renfrew but just not as initially planned.
I'm pretty happy with this. Next time I want to make it in a lovely NZ merino but will re-draft with some adjustments: cut a size 6 Renfrew, lengthen the shoulder seam toward the neck which will also give me more height in the back neck and front high chest, so it has just a little more coverage. I think another 3/4" would do the trick!
I can see many more of these versatile little babies being made in a range of colours :-) Far quicker to make one of these than actually use my knitting needles (sad to say).
More photos on my Flickr -->
Subscribe to:
Comments (Atom)

