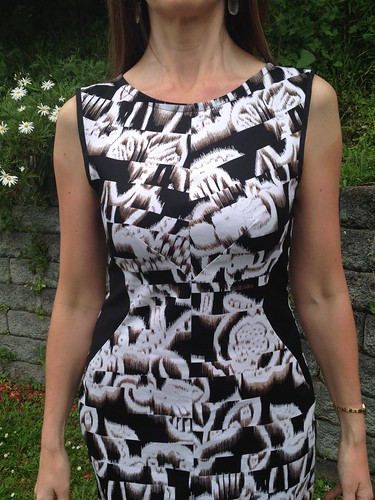
Back in November last year I was able to test the pattern and I fell in love with the fish darts, well at least I think that is what they are called - they're the bust darts that stem up and out diagonally from the bottom of the rib cage. Anyway I digress ... the pattern is unlined and recommends either using bias tape to finish the neck and armhole edges or drafting your own facing - either provides for a great finish. I myself love a lined dress, so of course I had to make another Brasilia Dress and fully line it. You can read all about my first dress here and changes I made to the pattern.
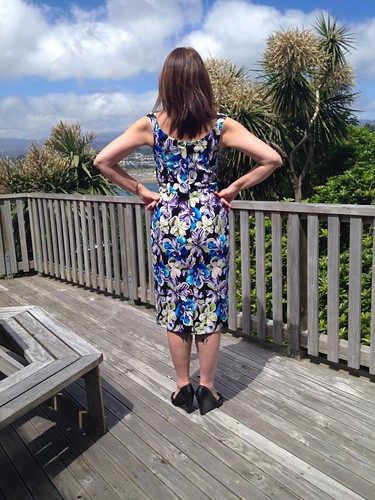
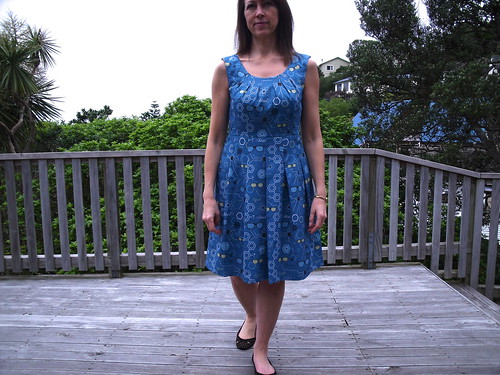
I was always gonna make another Brasilia Dress, but it had to be lined! Let me start my giving you a peek at the finished dress ...

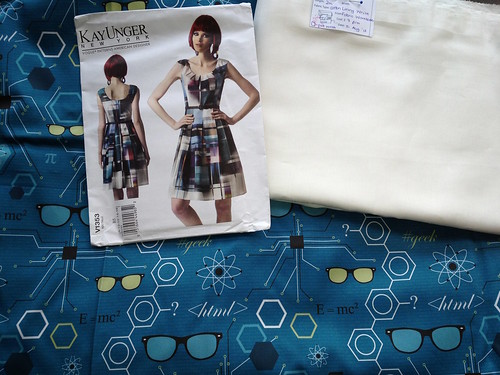
The dress fits the body like a glove so a stretch woven is recommended for the dress. For both mine I selected a stretch cotton sateen - perfect if you ask me! I was thinking about what fabric I would use for the lining and in the end I picked a lycra knit so it would snug into the dress and 'give' in all the right places. In hindsight it wasn't the smartest decision and if doing it again I would look at using a stretch tricot. I think any fabric without some lycra would restrict movement of the dress or would tear at the seams (yip, I've had that happen before). You also don't want it to be too heavy.
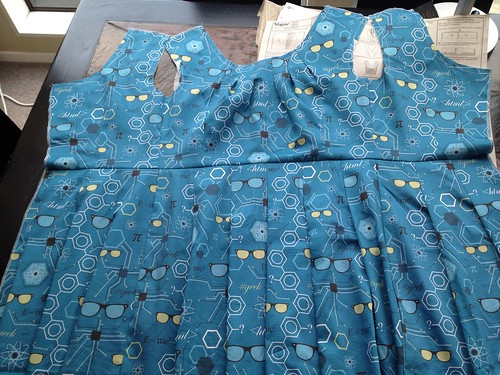
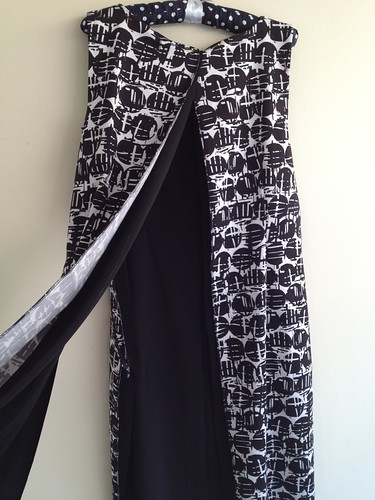
With only two pattern pieces to this dress, I cut one set from the fashion fabric and one set from the lining fabric.
 |
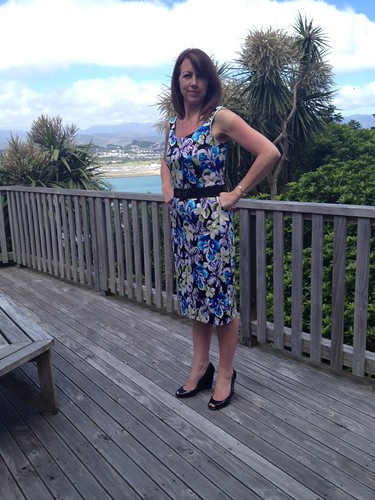
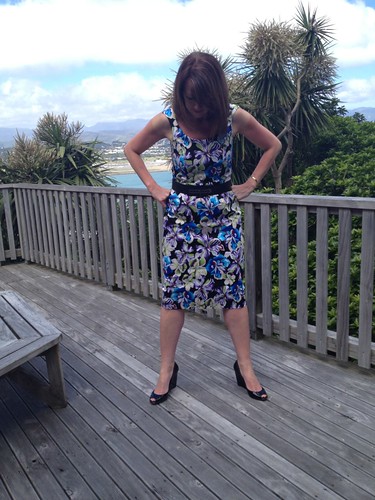
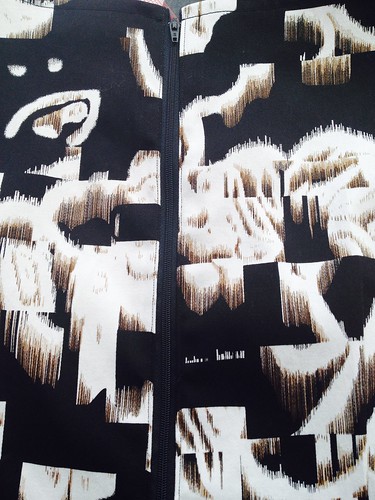
| I love this print - you can't tell that I didn't attempt to pattern match, ha! |
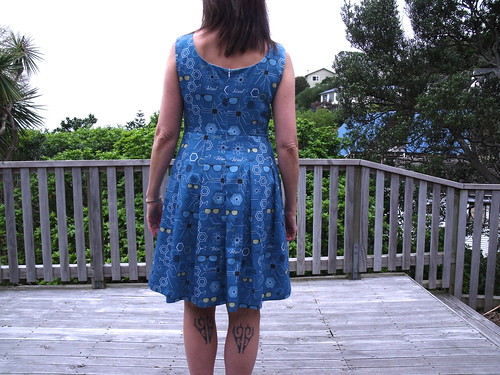
In this printed fabric you couldn't see the side inset feature, so to highlight these I chose to sew on some black ribbon after sewing the insert in. I was going to use some piping, but the inserts are tricky enough to put in without having to worry about piping as well. Hello ribbon!
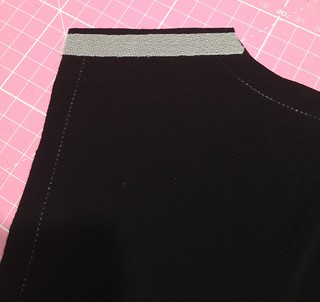
I also used a knit stay tape in the shoulder seams of the lining - just in case, because at this point I hadn't decided how to finish the arm and neck edges.
I laid the fashion fabric dress flat on the table, right side up and placed the lining dress over top, right side down (right sides of both dresses together). I matched the armhole seams, and neck seam, pining both layers together being sure I matched up the shoulder seams. Once securely pinned in place I sewed each seam permanently attaching the lining to the dress.
This is where I think the magic happens ... with the front of the dress closest to me I put my hand between the layers at the shoulder seam and pulled the left back pieces through the left shoulder and pulled the right back pieces through the right shoulder between the layers ...
 |
| centre back at neck is just secured by a pin at this stage - for photo purpose really. |
Next I basted the side seams of the fashion fabric together and did a final fitting. I didn't need to make any changes, so then proceed to sew up the fashion fabric bottom to armhole and carry on down the side seam of the lining, armhole to bottom - repeated for the other side.

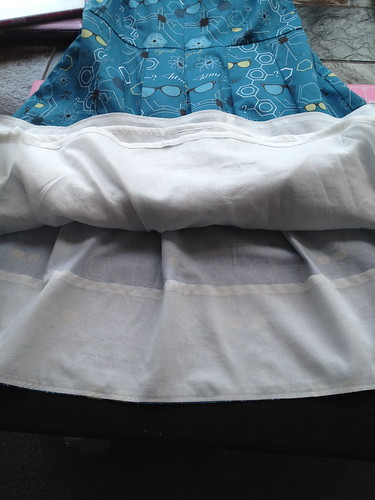
My lining had more stretch that desired, so instead of under-stitching the lining I decided to top-stitch armholes and neck to prevent the lining from poking out from underneath the dress fabric. The hem of the lining is only about 1" shorter than the dress - just enough not to fall out the bottom.
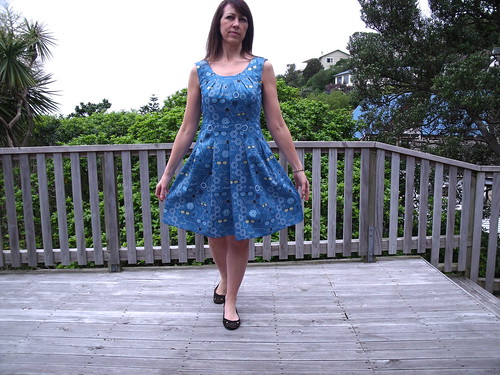
Viola! my fully lined Brasillia Dress.

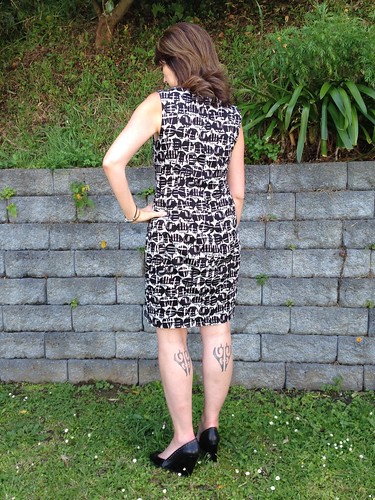
More photos on my Flickr -->