Sunday 29 June 2014

Office Warrior - Bellatrix

Did you know the name Bellatrix is Latin for "female warrior" which is a pretty good description of my first Bellatrix Blazer!  This time however, yes a second Bellatrix, it's a bit more "office warrior".

Untitled

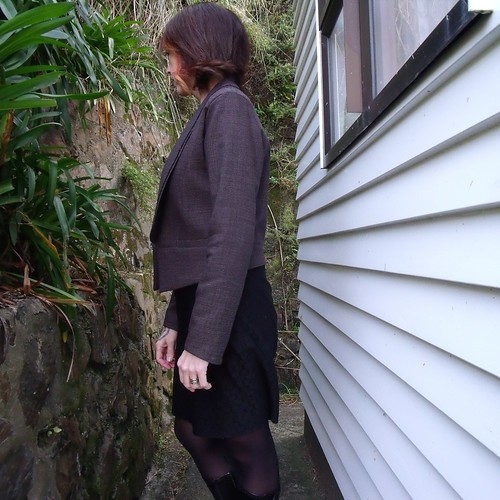
I wear my first Bellatrix Blazer all the time.  It's such an easy jacket to wear, over a dress or with pants ... and in all reality an easy make.  This one I made in one weekend.  For this particular jacket my favourite part is ... the lining.

Untitled
Just look at those pretty faces!

The lining is just a simple acetate that I purchased from Back Street Bargins on Trade Me.  It just went together perfectly with the wool blend suiting fabric I used for the shell of the blazer.  I've got no idea where I purchased the wool blend suiting fabric from - it's been in my stash for a while, before I started keeping track of the fabric stash!  I think it was always destined to be made into a jacket, and it's the perfect office warrior attire.

Untitled

I made this version exactly the same as my first, but this time I followed the instructions and used fusible interfacing for the entire centre front panel and then overlaid that with another piece of fusible interfacing for the lapel/collar.  I also placed some fusible interfacing on the side front panels and the upper back, for added structure.  I purchased some tailors fusible interfacing from Spotlight - it was just the perfect weight for the fabric.  I also inserted a small shoulder pad, same as last time, to add that subtle structure to the upper jacket.  Very happy!

Untitled
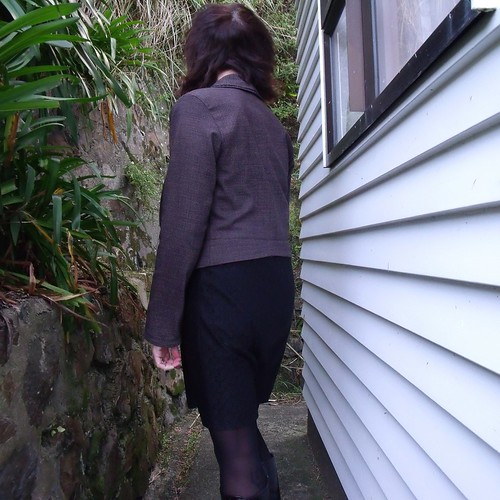
It was just a tad windy on photo day!
To give the overall look a bit of a lift, given I hadn't used a contrast for the lapels, I've hand stitched some lizard sequin trim around the outside edge of the lapel.  I couldn't find an appropriate button, so for now have decided to go without.  I've thought about a decorative hook and eye, but haven't had time to look that hard for anything.  I never wear it buttoned anyway, so haven't missed it at all.

Untitled

I made this jacket from the exact same pattern (with alterations) as my first, but this one feels bigger; it feels like it's got more ease, although in the photos you can't really tell.  I think its the wool suiting fabric that has more 'give' than the synthetic used for my first jacket.  It is really light weight to wear and warm!

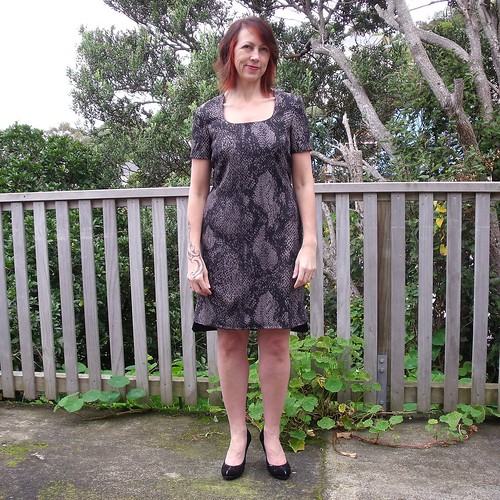
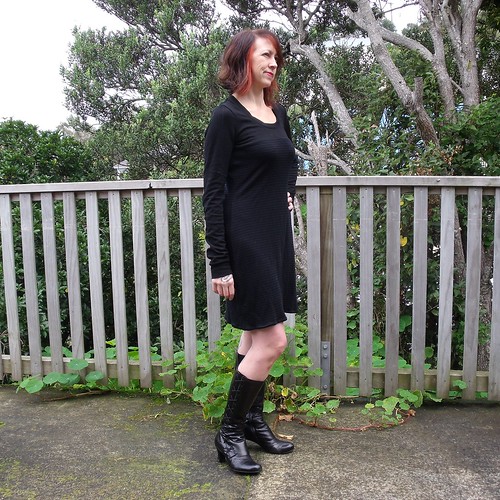
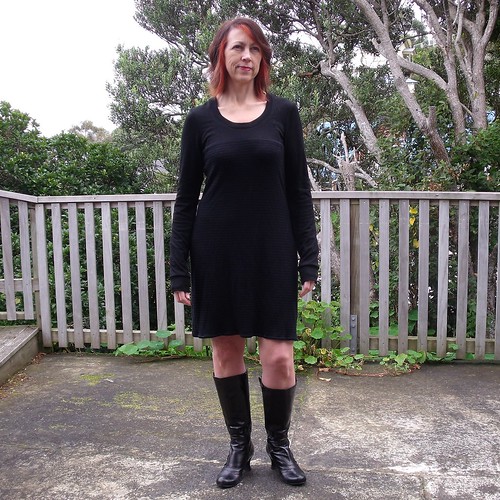
The "office warrior" is on regular rotation in my wardrobe :-)

More photos on my Flickr-->


Sunday 22 June 2014

Marfy Shift Dress

My discovery of Marfy patterns led me to the purchase their latest catalogue, which also comes with 20 free patterns.  I figured that 20 free patterns made it well worth the investment and shipping from Italy.

I thought I would start with a nice simple shift dress.  I took a fancy to the uneven hemline with slightly curved corners, matched with a square but curved neckline.  The side darts add waist definition as well as room for the bust.

Untitled

I made a couple of adjustments to the muslin:
  • added 3/4" above the dart but below the armhole to provide for my low bust; 
  • removed 3/4" front the length of the skirt to provided for the amount added above the bust; and 
  • added 1/4" to the front and back side seams from the waist down.

Untitled

The back has two darts to give the dress a snug fitted look through the waist.  I inserted a 55cm lap zipper by hand, using a pick stitch.  I love that you can barely tell that there's a zip there :-)

Untitled

I purchased this really cool snake skin print from the Arthur Toye closing down sale for just $5 per metre - it's a polyester crepe (I think), with a really nice fall.

The fabric needed more body, so as not to stick to me with a little static, but rather skim over my body and fall uninterrupted, so I interlined it with silk organza and then lined it with a cotton viole.  The pattern doesn't provide for any facings but not necessary when it is fully lined.  I inserted the lining by hand with a wee fell stitch.

Untitled

What I have discovered is that this isn't a dress that I can wear in the winter, because the cotton viole and stockings just don't go together!

While this is my second Marfy make (my first here), this is the first one I've made solo.  It was relatively straight forward and I'm happy with the final result - instructions are over rated!!!

More photos on my Flickr -->


Sunday 8 June 2014

Mission Maxi Hack

The month of May was not only Me-Made-May but it was also Sew Stretchy over at The Monthly Stitch.

The idea of a nice warm knit dress for winter has been brewing away in the back of my mind for a little while - but not anything as simple as finding a pattern and getting to work.  No, no, no!  This was a long-sleeve t-shirt dress which was a combination of the Mission Maxi by Jamie Christine, a Renfrew for the scoop neck (so I didn't have to calculate the neck band) and contrasting of the Ensis Tee.  Now put that on boil and stir occasionally.

Mission Maxi Hack


I'm feeling okay about the finished result.  I've worn it a couple of times and usually with a pair of black stockings, but today it's bare legs for these photos - sorry legs might be a bit bright, they haven't seen the light of day for a couple of months now, it being winter 'n all.

The dress is beautifully warm with the body made from a snuggly soft thin striped merino from The Fabric Store, the top bodice and sleeve from a ponte jersey knit.  It's loose fitting and very forgiving, but with a bit of shape so it doesn't hang like a sack.

Mission Maxi Hack

A couple of things that need addressing before making another ... the sleeves are just too long.  I added 1/2" to the Renfrew pattern - well that's what I wrote on my notes, but it looks as if I added 1.5".  While the sleeves can double as hand warmers, they are just too long :(

Mission Maxi Hack

Really, just look at those sleeves!  I suppose I could just cut off the cuff and reattach.  Hmmmm I just might do that.

I'm not too sure about the shoulder width either.  I made another Renfrew, that I haven't blogged yet, and after making that one I decided that the shoulder width of this dress could afford to be wider, so I added 1/4" to the shoulder seam using the cut a spread method, but I think I could have been a little more conservative and just added 1/8".

Mission Maxi Hack

The underarm side seam could also have some fabric removed, but I'm still trying to work out in my head how I might do that without actually reducing the armseye and making the upper sleeve too tight.  I've got this dilemma with pretty much everything with sleeves.

This is a very easy dress to wear and it is great for wearing to work when I've got a day of desk bound things to do (and I feel like eating good warm hearty winter food!)

Not many photos as it started to shower just as I got outside with the camera.
A few more photos on my Flickr -->