Showing posts with label ponte. Show all posts

Wednesday, 1 July 2015

Ponte Morris Blazer

The Grainline Studio Morris Blazer is the ideal casual smart clothing item that fits perfectly into my wardrobe. The appeal of this pattern is that it is intended for a knit fabric (or a stretch woven). I imagine that it would wear like a cardigan in a knit.

I downloaded the PDF pattern from the Grainline Studio website, dug out some black ponte from the stash and set to.
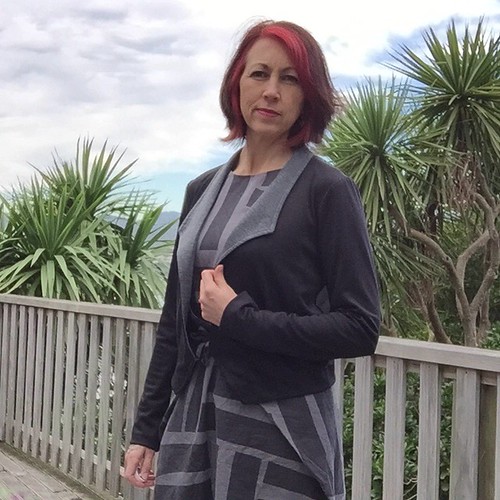
Ponte Morris Blazer

I traced off a size 10 and made just one alteration.  I'm not really a 3/4 length sleeve kinda girl, so I lengthen the arms by 6 1/2", allowing for a 1" hem.  I did away with the sleeve facing because I thought the ponte would behave better with a turned up hem.


For the facing I used a merino remnant from my Gillian Wrap Dress, a very fine stripe in a grey. This was much much lighter than the ponte so I used an equally heavy knit fusible interfacing - that worked a treat.
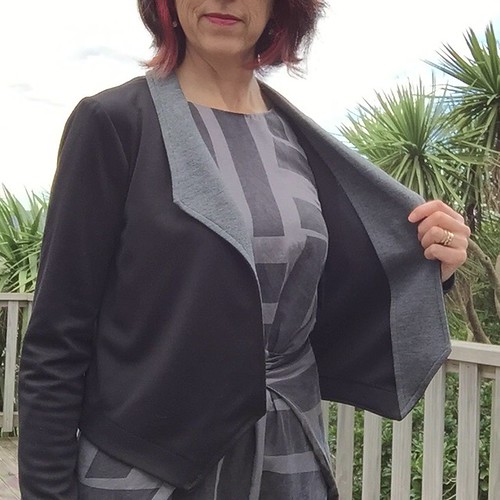
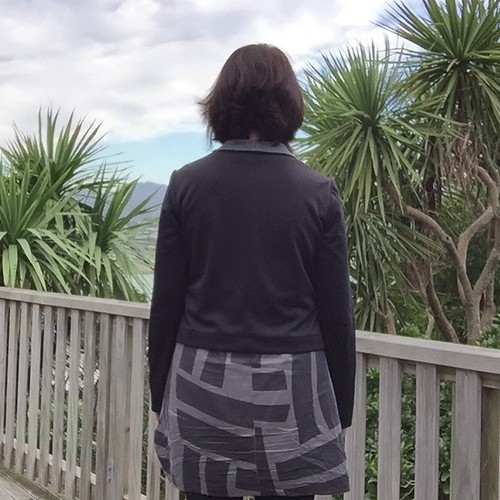
Ponte Morris Blazer

I stitched all the seams on the sewing machine using a zig zag 1.5 1.5 stitch and finished each seam on the overlocker (serger).  Nothing usually makes it off the sewing table without a touch of hand sewing - this Blazer was no exception, I used a catch stitch to tack the collar facing to the back neck seam.

Ponte Morris Blazer

Now ... See those annoying wee bubbles  at the bottom of the front in the photo below - I wasn't sure whether I'd done something or whether it's a result of the knit fabric???  I did a bit of a search of other blogs and noticed it on some other knit versions as well, so figured that it wasn't just me.  But it could be that the facing is a tad shorter than the front piece caused by either incorrect cutting or that the interfacing slightly shrunk the facing piece.  Anyway the knit fabric moves and wiggles in every direction when I'm wearing it so I figured it doesn't really matter that much - I'm probably the only one noticing!!
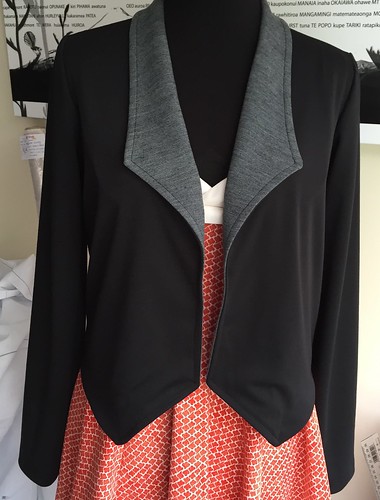
Work in Progress

The Blazer wears beautifully.  The only thing that I would change next time would be to lower the side seam at the under the arm; it's a tad high which restricts what I can wear under it and creates pulling when I look at photos of the back.


Sunday, 8 June 2014

Mission Maxi Hack

The month of May was not only Me-Made-May but it was also Sew Stretchy over at The Monthly Stitch.

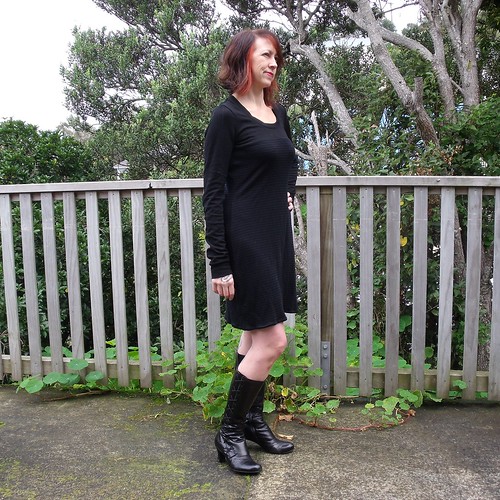
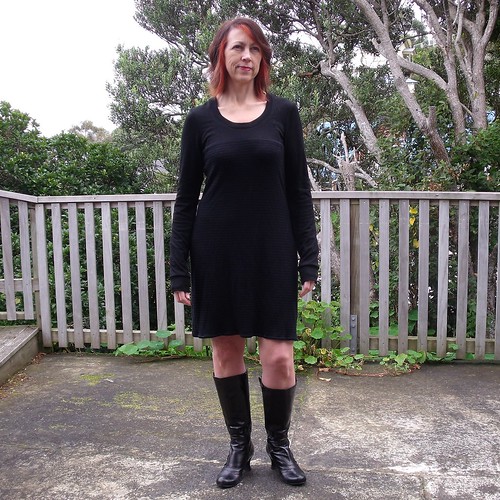
The idea of a nice warm knit dress for winter has been brewing away in the back of my mind for a little while - but not anything as simple as finding a pattern and getting to work.  No, no, no!  This was a long-sleeve t-shirt dress which was a combination of the Mission Maxi by Jamie Christine, a Renfrew for the scoop neck (so I didn't have to calculate the neck band) and contrasting of the Ensis Tee.  Now put that on boil and stir occasionally.

Mission Maxi Hack


I'm feeling okay about the finished result.  I've worn it a couple of times and usually with a pair of black stockings, but today it's bare legs for these photos - sorry legs might be a bit bright, they haven't seen the light of day for a couple of months now, it being winter 'n all.

The dress is beautifully warm with the body made from a snuggly soft thin striped merino from The Fabric Store, the top bodice and sleeve from a ponte jersey knit.  It's loose fitting and very forgiving, but with a bit of shape so it doesn't hang like a sack.

Mission Maxi Hack

A couple of things that need addressing before making another ... the sleeves are just too long.  I added 1/2" to the Renfrew pattern - well that's what I wrote on my notes, but it looks as if I added 1.5".  While the sleeves can double as hand warmers, they are just too long :(

Mission Maxi Hack

Really, just look at those sleeves!  I suppose I could just cut off the cuff and reattach.  Hmmmm I just might do that.

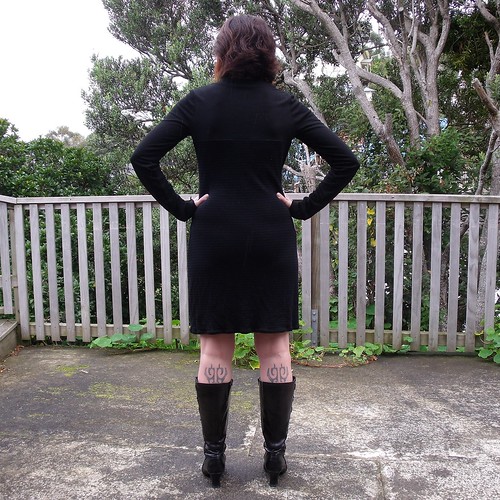
I'm not too sure about the shoulder width either.  I made another Renfrew, that I haven't blogged yet, and after making that one I decided that the shoulder width of this dress could afford to be wider, so I added 1/4" to the shoulder seam using the cut a spread method, but I think I could have been a little more conservative and just added 1/8".

Mission Maxi Hack

The underarm side seam could also have some fabric removed, but I'm still trying to work out in my head how I might do that without actually reducing the armseye and making the upper sleeve too tight.  I've got this dilemma with pretty much everything with sleeves.

This is a very easy dress to wear and it is great for wearing to work when I've got a day of desk bound things to do (and I feel like eating good warm hearty winter food!)

Not many photos as it started to shower just as I got outside with the camera.
A few more photos on my Flickr -->