Wednesday 18 December 2013

Hello Chevron Ensis!

Chevron Ensis Tee

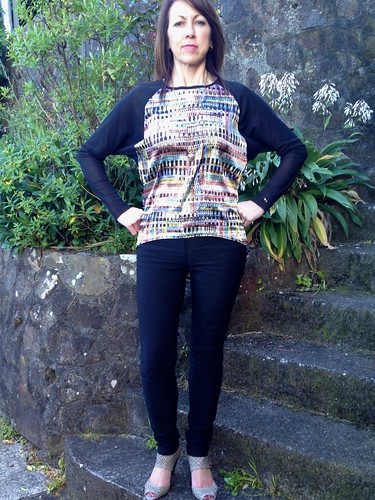
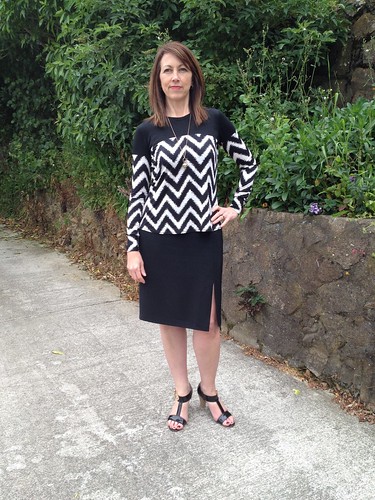
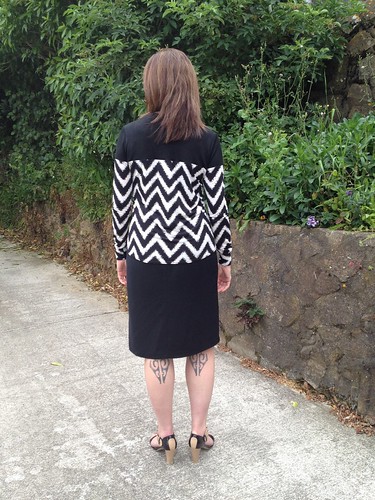
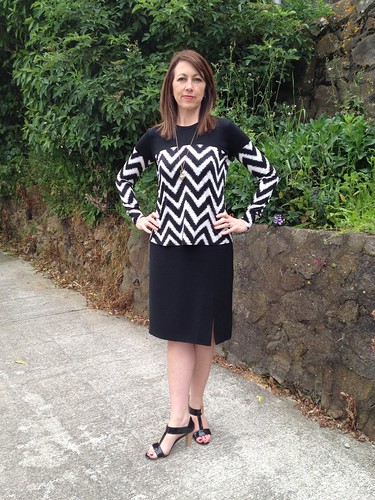
Did I tell you that I am in Love with Papercut Patterns - okay so moving right along then, let's talk about my Ensis Tee which I've made up in this fabulous cream and black chevron.

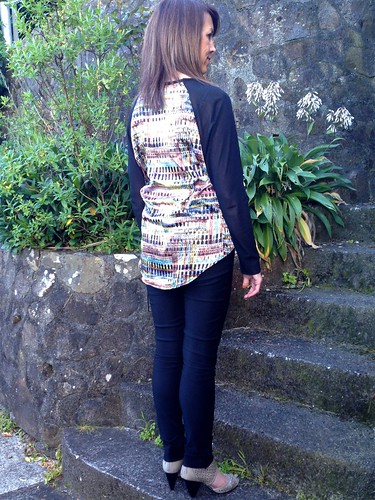
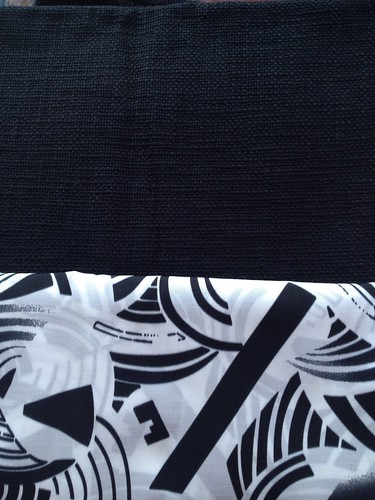
The top black pieces are NZ merino, a remnant piece from my stash and the bottom is a polyester knit, recently found on Trade Me (the NZ equivalent to EBay).  Yes, I did say polyester!  I've been looking for chevron knit fabric but NZ seem to be behind the rest of the world in realising that this is popular right now.  There are plenty of overseas online stores with great cotton knits but the shipping makes it really, really expensive for a knit fabric - so I've settled for a poly!

In saying that, the polyester hangs really nicely and just needed hemming with a double needle, which looks awesome btw!

Chevron Ensis Tee

I made a size xtra small and added 1" to the sleeve length, well actually to the cuff length.  I'm a bit of a fan of the deeper cuff :-)  Note to self for next time, add about 1/2" to the width of the cuff, which will still be a snug fit, but will be a little easier to attach to those pesky sleeve ends.

Chevron Ensis Tee

I like how the upper body and arms have a snug fit but through the body it's a little more free flowing.  I like how this pattern could also be sewn up in a double knit, perhaps a size bigger and be a great stylie sweater - version 1 with the bands lends itself that way, or you could add a bit of length and get a lovely tunic top.

Chevron Ensis Tee

My Papercut love includes:
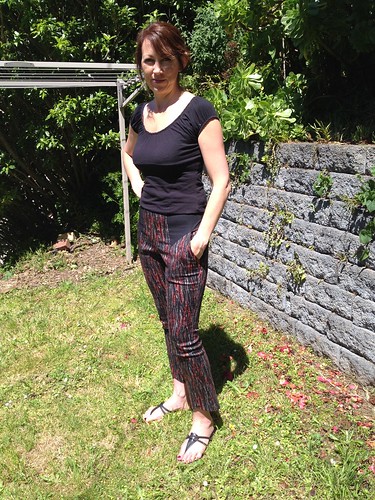
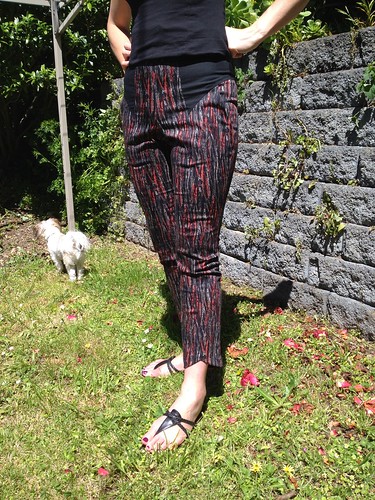
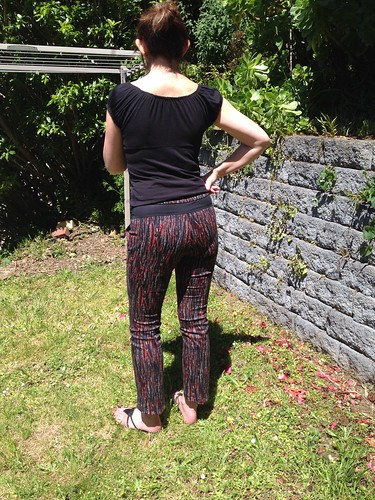
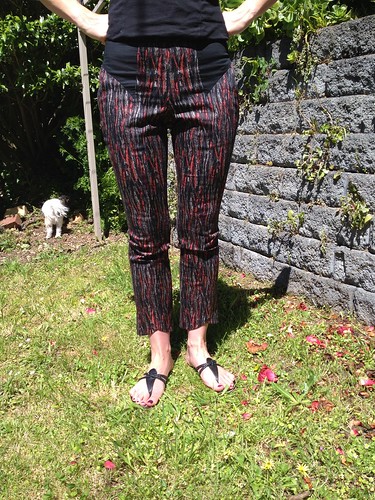
Peter and the Wolf Pants
Circle Top 2 - Black
Circle Top 1 - Red

As always more photos on my Flickr -->

Wednesday 11 December 2013

Hi Low Raglan

This was love at first sight!

Untitled

This is the Hi Lo Raglan pattern from Jamie Christina.  The best part is that there was no waiting around to get this one made up:  download, tape together, fabric from stash and wolla a new top all in a day :-)

Untitled

There's not really much to say about this one, so let me start with fabric - all from the stash!  The pattern is designed for a knit fabric but has enough ease that I used a woven lightweight satin for the body and a stretch mesh for the sleeves.  I used some frusible stay tape around the neck edges before I began to sew - six seams in total.

Untitled

The cuff end of the sleeves are raw, which is what I love about mesh.  The bottom of the body is turned up and finished with a tricot stitch - I could have used a double needle, but nah!

Next time I make this, and there will be a next time, I'll add just a tad more ease around the hips.  This one is a satin and just slides nicely over my skinny but there isn't a lot of room there.  I like the length at the front and back - just right :-)

I purchased another two Jamie Christina patterns, because it was sale time, and because I've been thinking about nice and easy things to wear over the holidays.  I couldn't pass up her Sol Hoodie and The Mission Maxi.  I really like her Abbey Coat but that might have to wait until next winter.

Not much to say and not many pictures, but as always there are more photots on my Flickr -->

Sunday 8 December 2013

Two months, 38 hours and counting

Back in October I embarked on construction of My Little French Jacket and it has been a bit of a journey.  I started with a hiss and a roar and was ahead of the game, each week waiting anxiously for the next sew-along post to come out - but then came the sleeves and a pile of other sewing that I wanted to do.  So when I picked it up yesterday, determined to conquer the sleeves I realised that it had been three weeks since I did any work on it!  Just as well I was ahead of the game, because after successfully getting those sleeves in I'm back on track, yay!  So I thought I would share a bit about the journey so far ....

Fabric & Lining

I chose this cotton boucle and silk lining - both purchased from The Fabric Store here in Wellington.

LBJ #LBJ muslin finished, now to tidy it up

Muslin pieces all traced and thread traced.  I selected a pattern size according to my bust measurement and made the muslin without any adjustments.  The upper body of the muslin was a great fit, but I had to let out the princess seams in the front for my waist and hips.  Minor adjustments in the scheme of things.

LFJ

All the pattern pieces are thread traced on the stitch line.  The grainline is also thread traced.  The fabric is then placed over the lining and pinned on - this is where the grainline on the fabric is super useful.

The lining is then attached to the fabric by quilting lines.  This is the very first time I had heard or seen this technique.  I was super curious about how this wouldn't be visible from the outside - but it just get lost in the fabric, almost like magic!

Untitled

I marked my quilting lines with pins.  Oh and this is where a walking foot on the sewing machine comes into its own - the best investment I ever made!

LFJ

The seams of the fabric are then all sewn together and pressed open.   Those seams are sewn by machine but to ensure accuracy the seams are basted together first and then put under the machine foot.  The seams of the lining are then trimmed and hand stitched in place using a small fell stitch.  My fell stitches got better and better - the pic below is my sleeve which is looking pretty if I do say so myself :-)

Untitled

Now the sleeves are also set in my hand. This was a first for me and a little daunting but once I just followed all Leisa's wonderful instructions it was a breeze. 

Untitled

And here is where I'm at right now ... these two pics are both B&W :-)
Untitled

Untitled

Next, I need to work on closing the lining around the sleeve inset then it will be the hems, the trim and pockets.  I feel like I'm on the home straight now ....

Total time to date = 38 hours.

Tuesday 3 December 2013

Wolf in the Wardrobe

So, Papercut Patterns added this new feature to their website "Made by You" and all you have to do is add the hashtag #iheartpapercut to your instagram post and your pic appears on their website.  This is such a cool feature - especially for those of us who are in love with Papercut Patterns.   Anyways, getting to my point, my pic of my Circle Tops (red and black) got selected as a winner and I got to choose a free Papercut Pattern.

Wolfies

This was such a difficult decision, but in the end I chose the Peter & the Wolf Pants.

I get really nervous when I make pants, cause if they don't fit straight out of the box I haven't really got it together enough to know how to go about making adjustments.  So thankfully they are wearable.
Wolfies

Wolfies

I chose a stretch cotton sateen from the Fabric Warehouse that I actually brought specifically for these pants.  The contrast is a stretch cotton and was probably just a wee bit to flimsy, but not that you can tell when I'm wearing them.

I made these on Saturday afternoon and worn them all day Sunday.  Initially I was really critical of them but they were actually quite comfy to wear.

I think the length is popular this summer and can be worn with a flat for a casual look or a heel for more of a dressy look.  I am 175cm tall and this length is exactly as the pattern provides.  I made a size small.

The pattern was a breeze to whip up.  The trickiest part would be attaching the front contrast and just because they are two curves bending in opposite directions.  So now is the time I should fess up to a wee boo boo!  I did read the pattern that said a 1cm seam allowance was provided, but when I got to driving the sewing machine I still stitched them up using a 1.5cm seam allowance.  It wasn't until I got to the side seams did I realise I was in auto pilot mode!  So the poor side seams are probably only .8cm.  Apart from being a bit tight around the lower thigh the fit if comfortable.

Wolfies

There is probably a bit too much fabric in the front which could be moved to the back, if I just knew what to adjust to fix that!

I haven't got many good photos, because my photographer daughter just wasn't interested in helping me out.  So there are a few more photos on my Flickr (far tooooo many butt shots than I feel comfortable with, but oh well I was grateful for any at all this day.