Monday 27 October 2014

Meet Gillian - THE. Wrap Dress


Gillian Wrap Dress

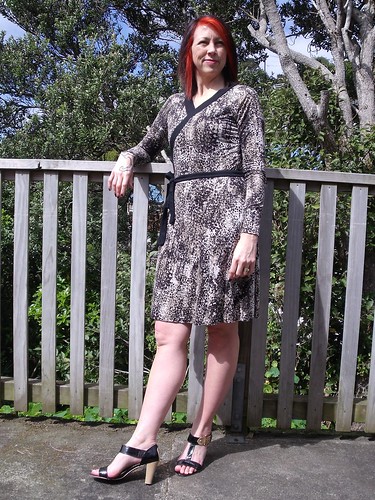
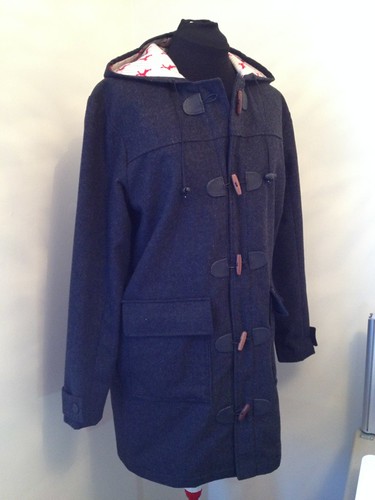
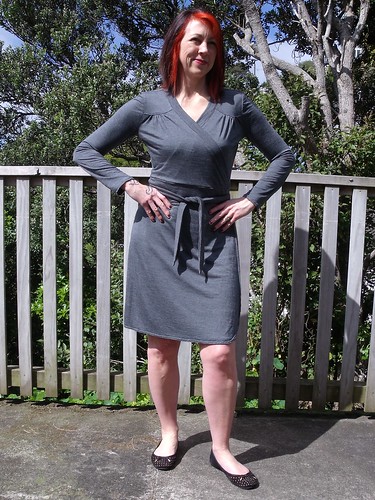
This is Gillian!  She is the new release from Muse Patterns.  When Kat asked our local sewing group if we were keen to test her new pattern, I was keen as mustard.  At that stage I had planned and cut my frankenpattern wrap dress the "Midnight Dream Coppelia", so I really wanted to sew an actual wrap dress pattern for a comparison.

Gillian Wrap Dress

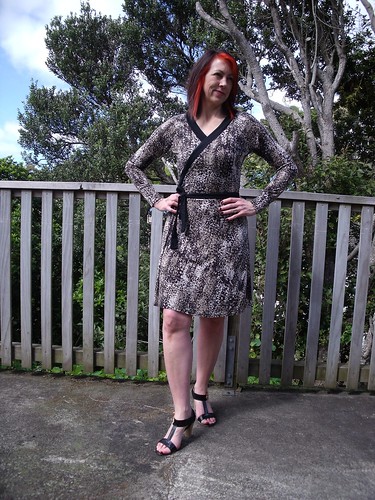
The detail on this dress is well thought out and very figure flattering (in my opinion). The front yoke provides just the right amount of space for the bust and the waist band provides a region for your waist to be, without being exact.  I love that, coz usually I have to lengthen the bodice of most patterns by 1/2".  The curve to the bottom corner of the skirt provides a good visual balance to the curve of the yokes.

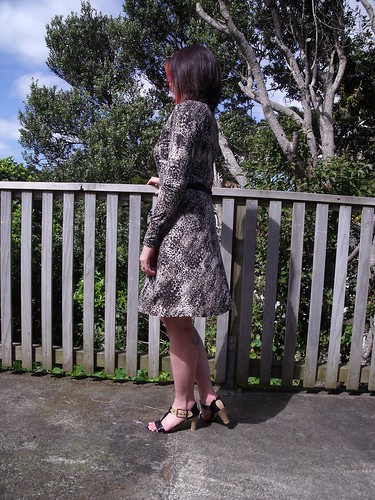
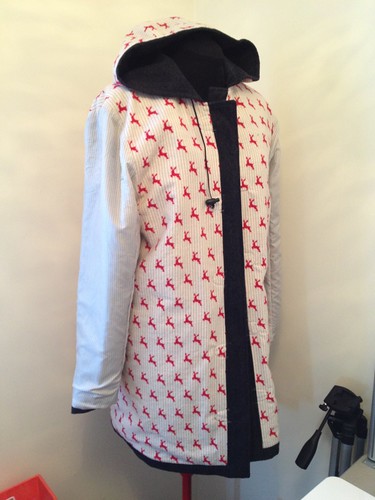
The back also has a yoke detail without making the back of the dress too wide.  I think it provides interest to the back of the dress, when otherwise all you would get is butt hugging knit fabric!

Gillian Wrap Dress
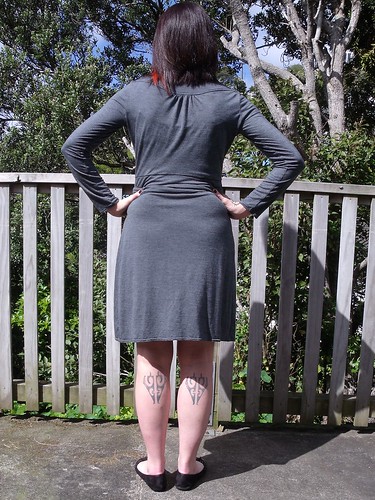
excuse the (unflattering) butt photo!!!
According to the Muse Patterns sizes I am a size 36 at the bust and hip but a 38 at the waist.  I figured it was a knit wrap dress and the waist wasn't that important, so I cut and sewed a size 36 with NO adjustments (I know I can't believe it looks this good with NO adjustments). 

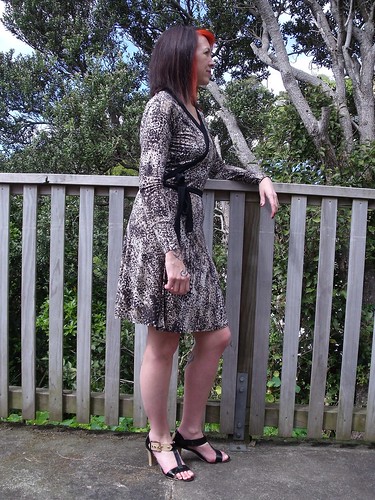
The pattern is like seven patterns in one: a wrap skirt with two length options, a wrap top with two sleeve options and then but them both together for dress options.  I only tested the long sleeve dress, but I've definitely got plans to make a short sleeve wrap top.

Gillian Wrap Dress

Testing was most interesting for me ... I actually had to stop and read the pattern instructions.  My usual process is to skim read the pattern instructions, I may stop and actual read things that are new to me or sound complicated, then just get on with it, briefly referring to the illustrations as I go :-)

This time I did my skim reading first, but then followed each and every step of the pattern exactly as the instructions said.  Oh boy was I challenged! 

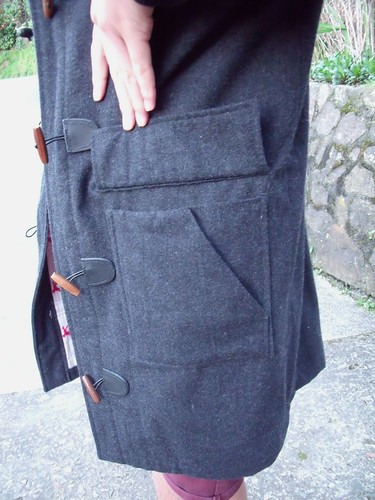
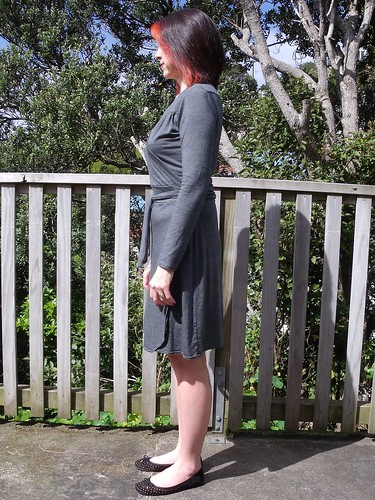
The hole construction on the waist band of this dress is so genius, but do you think I could work it out ... simply the waist band folds back on itself to completely enclose the hole which the waist tie passes through - no raw edge or wee slit in the seam.  This method also provides some structure to the waist band from which the skirt can hang.  Look, at least I didn't put the hole on the wrong side like I did with the Midnight Summer Coppelia!

Gillian Wrap Dress

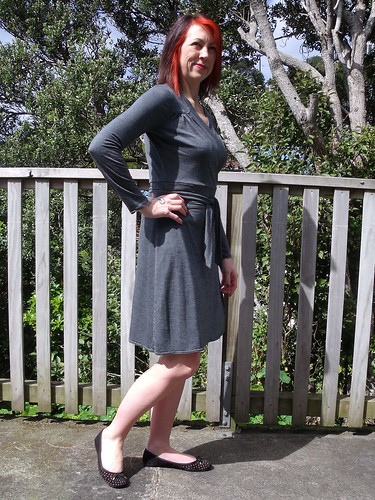
I went fabric shopping for this make ... I know you would have thought I would've had something in amongst the stash, now that you've seen photos of it!  I picked up this very fine stripe merino from The Fabric Store.  I would describe it as a medium weight, which gives just the amount of structure to hold the details but drape as a wrap dress should.  I used 2.25m to make the long sleeve, above the knee dress version.  I bought 2.5m, but measured exactly how much I actually used.

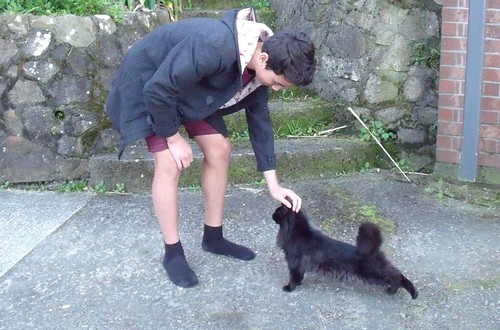
Anyway - I've worn this dress every week since I've made it, which is always a good testament to a pattern for me, otherwise it just hangs in my wardrobe. 

If you are interested you can check out all the other variations over on the Muse Patterns website.

More (not so great, shadow struck) photos on my Flickr -->

Fine print stuff:  you know ... I volunteered to pattern test, these opinions are my own and I was not paid in any way to write this post - other than to receive the free pattern for the purpose of testing.

Sunday 19 October 2014

Midnight Summer Coppelia

Just over a month ago, I joined The Frankenpattern Contest on pattern review and set to looking for the most appropriate patterns to mash together.  After working through a number of options I settled on a couple of Papercut Patterns which would produce my first wrap dress.

Midnight Summer Coppelia

I took the skirt (and tie) from the Midnight Summer Dream, a garden party summer wrap dress, and the Coppelia, ballet style raglan sleeve wrap cardi, and morphed these into a Spring appropriate wrap dress.

Midnight Summer Coppelia

The skirt of the Midnight Summer Dream was fuller than I wanted so I reduced the fullness by taking out a wedge of 3-1/2" at the skirt side.  This resulted in more of an A-Line skirt - thanks to a slight breeze in the next photo for capturing the skirt shape.

Midnight Summer Coppelia

The top and the skirt came together pretty seamlessly.  I measured bottom of cardi and top of skirt and only had to reduce the cardi by 1-3/4", so I just took that from the narrow end of the wrap.  I kinda followed the pattern instructions for the Midnight Summer Dress which called for the wrap ties to be attached to the narrow end of the top, where it meets the skirt.

There is a small slit in the side seam of the top, just above the waist seam for the tie of the under-wrap.... nothing to complicated, however I put the slit in the wrong side, so the dress wraps the wrong way around!  Is there actually a right way or wrong way to wrap?

Midnight Summer Coppelia


I picked up this snake skin cotton knit from The Fabric Store sale and paired it up with some black merino for the contrast, to break up the print.  The fabric is really light weight and with skirt cut on the bias it dropped quite a bit after being hung for a few days.  It almost looked like a high/low skirt! But I think I've over corrected just a tad too much and the back is now a fraction shorter then the front - you'll only ever notice if I stood still at all, luckily I don't :-)

Because I fluffed around for so long with the hem, and I suck at getting my photos sorted, I missed the deadline for The Pattern Review contest :-(  Never to mind, I had fun working on this one, main thing right!

More photos on my Flickr -->


Sunday 12 October 2014

Duffle Coat

This one has been coming for a wee while.  It was my son's birthday back at the beginning of May and he was keen for me to make him a winter coat ... after a bit of coercion :-)

Duffle Coat

We went shopping together and got this fabulous wool coating from The Fabric Store - perfect for a men's coat.  Finding an appropriate lining wasn't so easy.  Originally we picked up some striped acetate, but after a bit of deliberation I realised that it wasn't going to add any warmth to the coat and that it would be useless for the Wellington winter.  So the hunt was on for some flannelette.   At Spotlight I found a similar coloured stripe with red stags - boy appropriate I thought!

Duffle Coat

I only put the flannelette on the back and fronts to add warmth and used the original acetate in the sleeves, so it would be easy to put on and take off, sliding over the usual winter hoodie.

The pattern is Albion by Colette Patterns.  My son is much taller than the average 13 year old and swimming gives him a triangle shape, making things a little interesting.  His measurements placed him in a size Medium across his shoulders and a size Small around the chest.

Duffle Coat

The fabric wasn't cheap, so I decided that it was best to do a muslin first and work out how I was going to blend the two sizes together. I cut the front and back yokes and the upper sleeve in a size medium, the under sleeve and body pieces in a small.  Although where the yoke and the body pieces meet I left as a size medium and then blended down to a size small at the underarm.

This gave the perfect fit across the shoulders with a bit of spare room for growth!

Duffle Coat

I omitted the side seam pockets - cause I just don't like them.  I lined the patch pockets before attaching them - I little bit of added warmth is a good idea.  Then when we were in town one day we came across some RTW duffle coats - one feature I found really interesting was the double patch pocket.  A second pocket stitched over the first, but with an angle for easy access by the hand.

Duffle Coat

Although I had already finished the pockets, luckily I hadn't sewn the lining closed.  So I drafted the second pocket with a 1" self facing and attached over the same seam lines as the original patch pocket.

While the buttons look great, they were a real b*!#h to put on.  I used a 90/14 needle on the machine, but turning around the curved edges was a real struggle.

The pattern was a pleasure to sew.  The instructions were clear and easy to follow and would definitely be a pattern I would sew up again.

Duffle Coat

More photos on my Flickr -->