Monday 30 September 2013

Taller than average

I can't described how super stoked I am to know how to make jeans.  I no longer have to put up with RTW that aren't quite long enough!

Jalie Jeans Sep2013

Back in June I made my first pair of jeans with the much loved Jalie pattern.  After wearing those jeans for a wee while I was keen to make small adjustments and try different styles.

Jalie Jeans Sep2013

Here's the list of adjustments for this pair
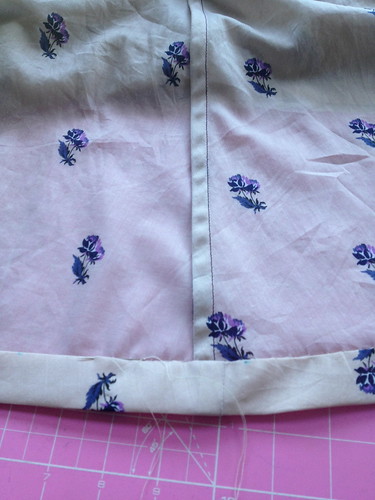
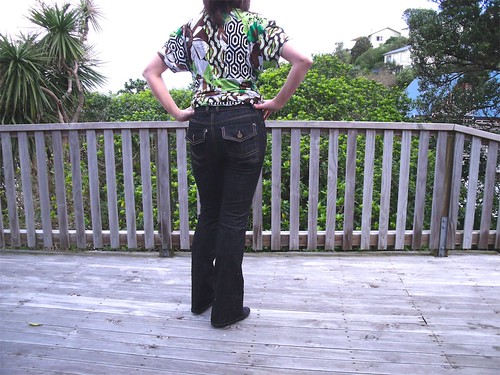
  • lengthen the pattern by 5"
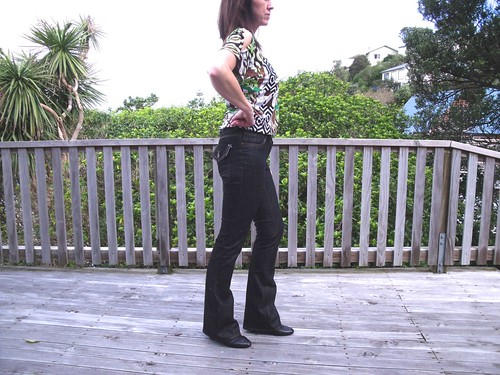
  • narrowed the bootleg - not straight but not as flared as the pattern
  • added depth to the waistband
  • cut 1/4" off the CB yoke at the wasit only and tapered down
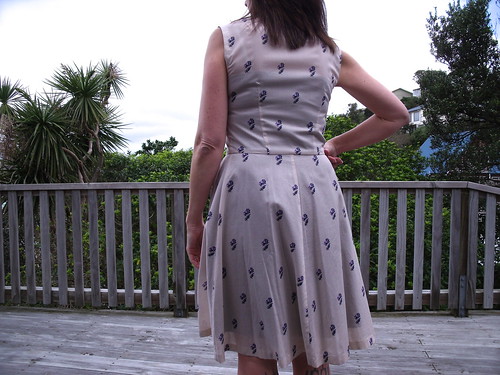
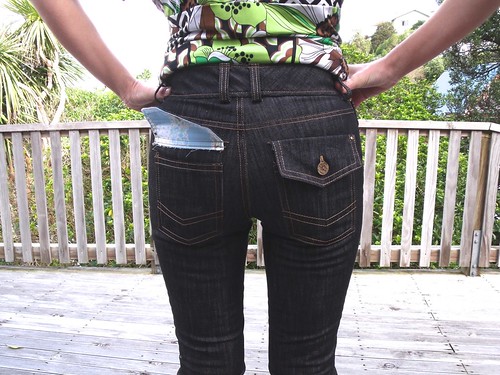
  • drafted a flap for the back pocket and lowered the pocket placement
  • lowered the curve of the front pockets
  • added a coin pocket to the right front pocket - which didn't work that well!
Jalie Jeans Sep2013

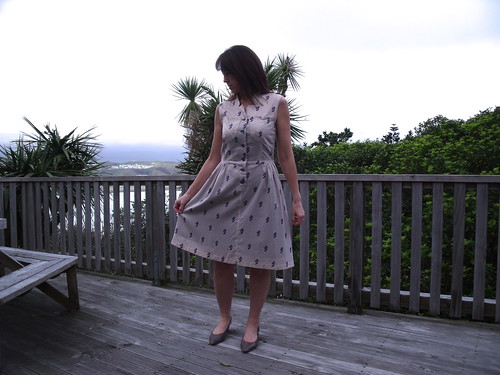
This is only the second time I have sewn a fly front!  It was much better than my first, but still has some improvement to do.  I might need to make a skirt with a fly front!

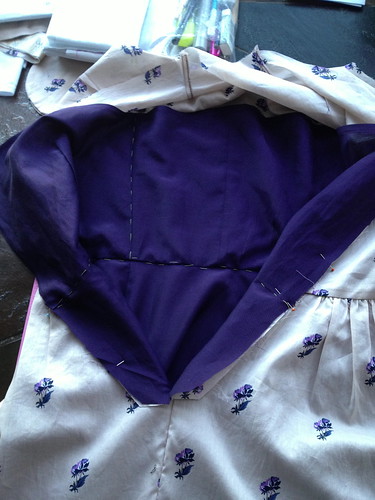
For the back pockets I drafted pocket flaps using the shape of the bottom of the pocket and then lined them with some cotton (received in the Winter Swap), ideal match if you ask me.  I also used the same fabric for the front pocket lining.  haha have you spotted that I am missing a button!

Jalie Jeans Sep2013

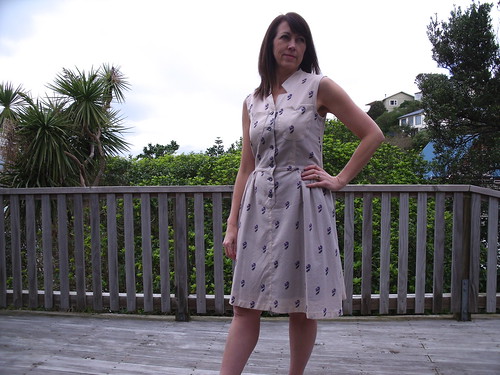
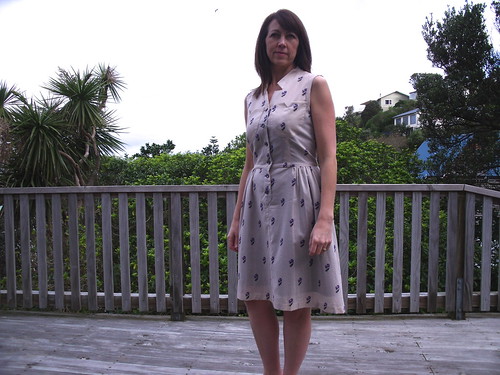
I'm calling these my high heel jeans, as I can only wear them with high heals, or a boot as in these photos.  Something I've never been able to do before - RTW can only be worn with flats because of the lack of length!!!

Jalie Jeans Sep2013

My next is a pair of skinnies :)  I made further adjustments (more like tweaks) to the pattern immediately that I finished this pair, while it was still fresh in my mind.  I got the fabric at the last Fabric Store sale ... so I'm good to go, just need a splash of time!

More photos on my Flickr -->

Sunday 22 September 2013

Sewing Retro

Taking a step right outside my comfort zone and for that matter my style zone!  I have completed my very first vintage sewing project - which I would never have attempted if it wasn't for the online sewing community.  Earlier in the month I revealed the pattern and fabric (read here) as my Fall for Cotton project.

Retro7384

I am really smitten by the bodice of this dress and in particular the neckline, which was really easy to sew BTW, just had to make a triangle when sewing the facing on to the dress and cut it out!

Retro7387
Don't you just love the stand-up collar!
I am SUPER happy with the dress and it's construction.  It feels fabulous to wear - fit and fabric.  Whilst the front and back sit directly on my waist I could have hitched up the sides a little more which would have  taken away the downward pulls you see.  My muslin was perfect, but I think my seams might have been out on the dress 'cause I used a french seam instead of the overlocker and I was a little afraid to overdo the seam as there wasn't much wiggle room in my muslin.

Retro_2468
Soooo pretty!
The pattern didn't provide for a lining - it was a dress and a separate slip.  That didn't make sense to me because the dress was very fitting through to the waist but the slip was just straight up and down???  So I went about making my own lining (as ya do!).  The bodice has a sweetheart neckline in the front and straight across, just above the bra line in the back.

Retro_2429
I love the purple lining :)
I inserted the lining before attaching the pockets so it is stabilised well in the front, caught by the armhole binding under the arm pit and tacked at the top of the darts in the back.  I didn't want any obvious stitch lines around the top of the lining to be visible from the outer shell of the dress.

Retro7378
Retro7386
can you faintly see the bottom of the lining?
The skirt lining, well that is just a duplicate of the skirt, but shorter!  I shortened the skirt pattern by a good 5".  I really like the finished length - both skirt hems are hand sewn with a catch-stitch.  Actually there is quite a bit of hand stitching: I hand basted the lining to the dress and continued as one; I hand stitched the sleeve bindings on the inside - I think machine stitching would have been too heavy; the bottom of the button placard is hand stitched down; I understitched the facing by hand, it would have been too fiddly with the machine, and I think it looks better by hand anyway.

Retro7391

Well, this isn't a dress that I see myself wearing, mainly because the fabric just isn't me, and I'm not sold on the skirt on me either.  I'll finish setting up my Esty store and sell it, so at least someone will appreciate and wear it.

More photos on my Flickr -->


Monday 16 September 2013

Side Tracked by underwear

This month I'm sewing along with The Monthly Stitch and Fall for Cotton, and if this wasn't enough to keep me busy I've been easily side tracked into what is worn under these lovely dresses!


Gosh, I don't event know how I got side-tracked but next thing I know I've ordered two bra patterns on Esty, and purchased a panties pattern from a local store so I can have a matching set!  (That's my obsessive compulsive behaviour at it's best!!!)

I realise I can't go from pattern to pretty lingerie over night - well in my head I can but in reality ummm NO!  A girl has to start somewhere, so I started with nickers - more specific nickers for my daughter, who I know isn't fussy and will wear my trial attempts.  So I got this really funky knit from Spotlight and away I went.
Pattern - easy.  Gusset - easy.  Elastic - no so!

Well not that the elastic is hard to measure or sew or anything, it is actually where you place the stitch that makes all the difference.  So what I have learnt?

Always sew to the very far left of the elastic, both when you attach the elastic and when you turn it to finish.  Sorry not showing you my first attempt, other than to say it was a curly mess!
tricot stitch

narrow zig zag stitch

I started with a 12mm elastic (as in these photos), which was good for learning, in that it's not that fiddly under the machine foot.  But I think that a 6-8mm elastic will give a better finish and feel.

Anyway four pairs later and I think I've got it sussed! 

Next, taking on the bra pattern - which all seams relatively straight forward but the key will be acquiring all the right fabric.  That will be another story another day :-)

Saturday 14 September 2013

Hello Chloe

Chloe7345

Chloe is a semi-fitted, mid length A-line dress that hints towards a 60's mod style - a pattern by Canadian company Victory Patterns.  I purchased the pattern from Dresses and Me together with the Lola pattern - you can read about my Lola here.

I really like the capped sleeve and contrast effect of version 2 and I chose a wool with a very fine red pinstripe which runs vertically.

Chloe7349

I know this is really boring but I selected to contrast with a solid black cotton.  It goes really nicely with my red circle top.  Or on this day it was my black circle top and red boots.

Chloe7328

I chose to make a size 8, knowing that on my muslin I would have to downsize the bust and increase the hip area.  Here is exactly what I did to the pattern, after taking the dress off and on about eight times!

Chloe7351

Side back piece: widen the hips by 3/8" at the side seam; take out 5/8" from the side seam at the armpit; to keep the side seam perpendicular to the floor I had to take 5/8" out of the bottom of the skirt at the side seam.

Centre back piece: widen the hip 1/4".
Chloe7332

Side front piece:  bring in by 5/8" under the arm on side seam; widen hips 3/8" on side seam; adjust the curve of the princess seam around the bust by straightening the curve above the bust by 1/8" and creating more of a curve underneath the bust by 1/4".

Chloe7344

I absolutely love this dress and have worn it every week since I made it, which was about 3 weeks ago but a full on work schedule and then the nasty flu bugs all got in the way of taking some photos.  I have since made a second Chloe - photos of that one yet to come.

More photos on my Flickr -->

Sunday 1 September 2013

Spring calls for Group Sewing

Today is the first day of spring and to kick it off I am participating in a couple of group sewing activities.  Luckily I can sew one garment for both - oh year love that!


I love sewing dresses and who doesn't like a good cotton fabric, but I don't usually sew vintage!  Athough now vintage includes the 1980s I probably have a few patterns from that era in my statsh!  Anyway my intuition must have known something I didn't, because about three months ago when sewingpatterns.com had a Butterick sale I acquired this Butterick Retro '51 pattern.  The dress to the left particularly caught my eye.


This pattern wasn't even on my sewing 'to do' list, then all of a sudden it is first out of the box for September - don't you love how a good group activity changes things :-)

Last week I took a wee detour to The Fabric Store hoping to get some inspiration for fabric.  I was hoping to find a cotton voile or similar light weight cotton that would have a transparent nature.  Next thing I knew I was at the counter with this fabric!

Fabric for Vintage
The pin in the centre will give you a sense of the size of the pattern.

Now this is sooooo far removed from my comfort zone, but the purple and blue combination found a soft spot and intuition said 'BUY IT'.   So what is a girl to do ... follow her intuition of course!

To keep inspired and gain some confidence in my selection I joined the Fall for Cotton Flickr group - check it out there are some great patterns and amazing fabrics to google over.

Check out this fabric!   I ordered this from Spoonflower, not long after I discovered the awesomeness of custom made fabric. 


Two yards of cotton sateen - devine!  At the time I ordered it all I knew was that I wanted to make a dress with it, one with a fullish skirt.  Then along came this pattern from Kay Unger in the Vogue collection, the perfect combination. 


On my way past the Fabric Warehouse yesterday I called in to pick up some lining, 100% cotton batiste, which is lovely and soft to match the cotton sateen, knowing that this pattern would be at the top of my sewing list soon now that it is Spring ;-)

It feels like Spring is my permission to start sewing summer dresses - well that's what I'm telling myself anyway.  That's not to say that I've finished my winter sewing list yet - still two pairs of jeans to make and a nice wool blazer!  There is no doubt that they will get loads of wear before summer is truly here.