Showing posts with label skirt. Show all posts

Wednesday, 31 January 2018

Perfecting the Skirt and Rainbows

Kia ora! In December last year, after purchasing and watching the new Susan Khalje class on Craftsy "The Couture Lace Skirt", I pulled my unfinished skirt block from the depths of the muslin pile and decided I needed finish it. 

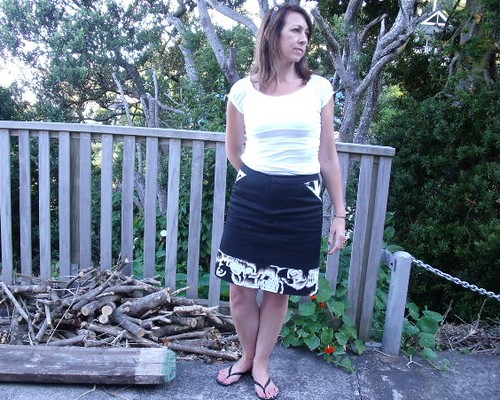
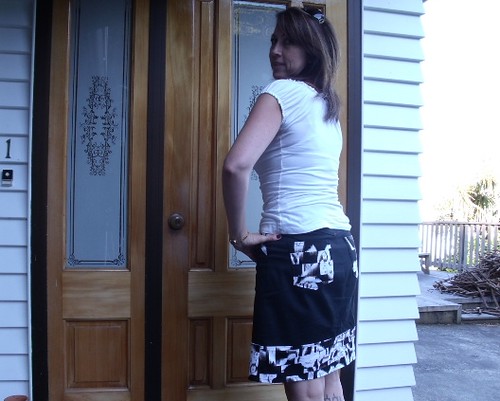
To be honest, I don't wear a lot of skirts which is why I've never bothered to finish it, but I really really really want a guipure lace skirt. I didn't want to start with having to find a skirt pattern then go through the fuss of fitting it for my body. The toile felt more than a little snug around the hips so I added 1/2" to the side seams of the pattern, giving a 1" ease, then got out some remnant fabric and proceeded to sew up a skirt. Hmmmm, it didn't fit!  It was way too big and almost fell off my hips. Yeah, I know, I should have done a fitting once I got the side seams together, but it was December and the end of a long year!  Anyway, I made some tweaks to the pattern, dived into the stash again for more fabric and made another - okay it was a boring black skirt! But hey, I made sure the lining was fun. And who doesn't need a black skirt, right.


I made a couple more tweaks to the pattern before deciding it was time to test out Susan's techniques before fully committing to the guipure lace. Hello rainbow skirt 😎


The rainbow eyelet I purchased from The Fabric Store in January 2017 with a thought to making a bomber jacket ... I never did make it. I then found this very cute cotton lawn with a small floral print - I've got no idea where it came from or when I purchased it, so I'm guessing because it didn't have one of my fabric stash tags it's been in the stash for quite ... some ... time!


First I cut out the cotton, put all the necessary markings on the cotton with one of those Frixon erasable pens, coz I love them, then placed the cotton pieces on the eyelet fabric and thread traced them together and treated them as one. I sewed in the darts and tacked the two pieces together by hand with rows of horizontal running stitches about 2 inches apart.


I finished everything except for the waist. I found some white striped acetate in the stash and constructed the lining. All three layers are secured together at the waist and finished with a piece of grosgrain ribbon, as recommended by Susan. The zipper is inserted by hand using a pick stitch (which is my favourite way to put in a zipper if I haven't already told you that before).


I am in love with the small floral underneath the eyelet 💖


You can't even really tell where the darts are. Well you have to look super close 👀


I wore the skirt to work for the first time this week. I totally enjoyed the fit of the skirt, the shape and the length. I think I'm ready now to make many more variations using my bock, but first I need to tackle the guipure lace skirt using all the applique techniques Susan teaches.


Until next time, happy sewing 😘

Sunday, 11 January 2015

Denim skirts never get old

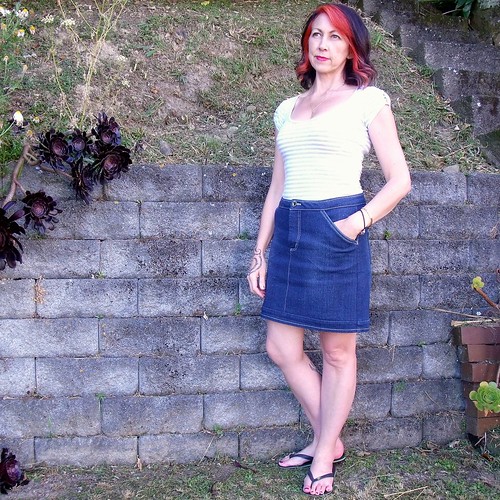
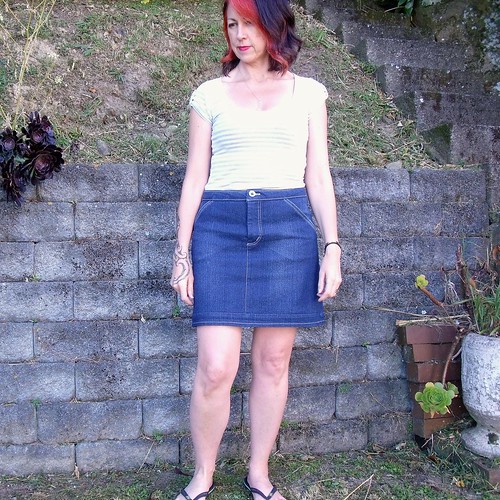
Denim Moss Mini

The denim mini skirt never dies! Although believe it or not, this is the first denim skirt that I've ever owned, but it's never too late, right!

Why now then? Two reasons: 1. the monthly stitch challenge for January is "denim never dies" and 2. I previously made the Moss Mini which was a perfect fit straight out of the packet - gotta love that!

I have major jean making plans, with three jean patterns lined up in an effort to find the perfect pattern for me. Trying to find appropriate weight denim with a 2% lycra content in a colour that I like is a bit of a mission, even with all the fabric shops in Wellington! All three of the patterns call for a small lycra content, which I'm happy with cause they aren't so restricting.

About mid December I stopped into Spotlight on my way passed (I'm not even sure what I went there for) but while cuing to get to the counter I was standing in front of the denim, so of course had to check them all out.  What do ya know - this decent weight, dark denim with 2% lycra was just sitting there waiting for me... and only $10 p/m, bargain! I didn't buy just one metre, oh no I bought 8 metres!  That would allow me to make three pair of, wearable muslin, jeans with some to spare.

A denim Moss Mini was the perfect, quick make, to test how it sews up.

Denim Moss Mini

I also wanted to try distressing the denim to give it a worn look, and see how that would work. So it wasn't that I actually wanted a denim skirt, I thought I would start small with something that was tried and true to test out the fabric with some sand paper and different colour top stitching. Maybe I should call this my test everything skirt!

I went to Bunnings (hardware store) and picked up a 150grit 'sanding sponge', yes it is exactly what you are thinking, a sponge with sand paper on the outside, similar to this one on Amazon.

I took it easy on the distressing - didn't want to put a hole in the fabric first time. The front is probably the most obvious.

Denim Moss Mini

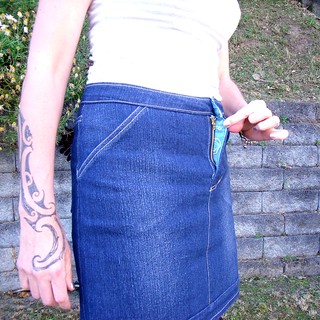
I also distress the front pocket facing, the back pockets, the seam allowances after folding them over but before top stitching. All distressing is done before applying the topstitching.

Denim Moss Mini

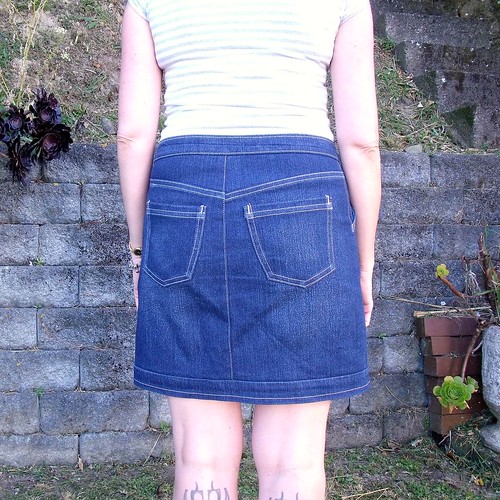
The Moss Mini doesn't have back pockets, but a person (moi) with no butt needs to add detail in this area. This time I took the back pockets from the Ginger Jeans, I'm lovin the shape of these pockets, top stitched slightly down from the pocket top and added bar tacks to the corners.


Denim Moss Mini

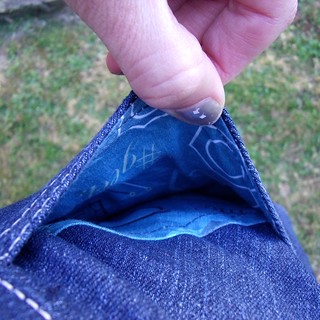
'Cause you have to have a bit of a 'fun factor' I used some scrap fabric for the pocket lining and fly facing :-) This is the Geektastic Spoonflower fabric I made this dress with.

Denim Moss Mini Denim Moss Mini

This skirt is so comfy and easy to wear. I'm gonna call my distressing a win and have already bought more of the grey top stitching thread for the first pair of jeans.

More photos on my Flickr -->

Sunday, 11 May 2014

Moss Mini - for the fun of it!

Back in February when the weather was still warm, I thought I needed an easy to wear skirt for the weekends rather than just going for shorts all the time.  I came across the Grainline Studio Moss Mini while stalking the Flickr Group.  The measurements where perfect for my body shape, so immediately clicked the buy button and downloaded the PDF pattern!

Moss Mini Muslin

I didn't want to bother making a muslin, so though I would use fabric recently left over from my Wolfies (stretch cotton twill) and Brasilia Dress (cotton sateen stretch) to make a wearable muslin.  Here is what I got with only one minor adjustment to the length.

Moss Mini Muslin

I added 1" to the length of the skirt, at the recommended place on the pattern. 

Moss Mini Muslin

Whilst the skirt is comfy it could hug my waist a little more.  I think I could easily remove 1/4" from the centre front pattern piece to reduce the total circumference of the skirt by 1/2" just at the waist.  I also used the skirt fabric to for the fly lining, which has made the fly a bit bulkier than desired.  Note to self for next time - use a stiff interfacing!

The back of the skirt is a good fit.  For a bit of interest I added some patch pockets from my jeans pattern.

Moss Mini Muslin

I really like the back yoke of the skirt - it's got a real 'jean' feel to it.  I have a nice piece of denim in my stash and just might have to make a jean version - perhaps lined for winter so I can wear stockings without it clinging.

A really great little pattern that I can see replacing my shorts in the summer.

More photos on my Flickr -->


Sunday, 4 August 2013

Hummingbird Cake

Well I'm finally here to share my Hummingbird after the sneek peek in my last post about the Cake sew-a-long.
The shape of the Hummingbird really appealed to me, although I have never really been a peplum fan!  After stalking the Hummingbird in the blogisphere I thought the nature of the knit fabric would mean that it would sit rather nicely rather than flaring out.  I don't like the thought of accentuating my hips!

I found this rather yummy striped merino at The Fabric Store sale.  As always it is a dream fabric to work with :)  I really love the way it fells, wears and falls.


As with my Tiramisu I am between size 30 and 35.  To achieve a snug fit I chose to make up the size 30.   Before starting I knew that I wanted to change neckline and the sleeves.  I lengthen the sleeve by 1" and took 1/4" off at each shoulder to give a wider look to the neck.  Perfect if you ask me :-)


Cake Patterns provide for fit checks at different stages during construction.  Whilst I did do a fit check before I attached the peplum, the waist it is still about 1/2" longer that it should be.  I've tried to hide this by styling with a belt :)  


I think this would work perfectly if the waist to my skirt was more body hugging - as you can probably see there is a wee shelf just under the belt - that's the top of the skirt :-(

I love the skirt shape and style, but it could have done with another 1/4" taken off the waist and the band being twice as deep.   I'm pretty sure that this is a skirt I WILL make again.


The fabric for the skirt was from my stash and I lined it with some simple acetate.   I've got no idea what type of fabric it is or where I got it from.

I inserted an invisible zip in the skirt with my new machine foot - why didn't I have one of these before?????


I Love my Hummingbird and can't wait for the weather to get a little warmer so I can wear it without a jacket or cardi.