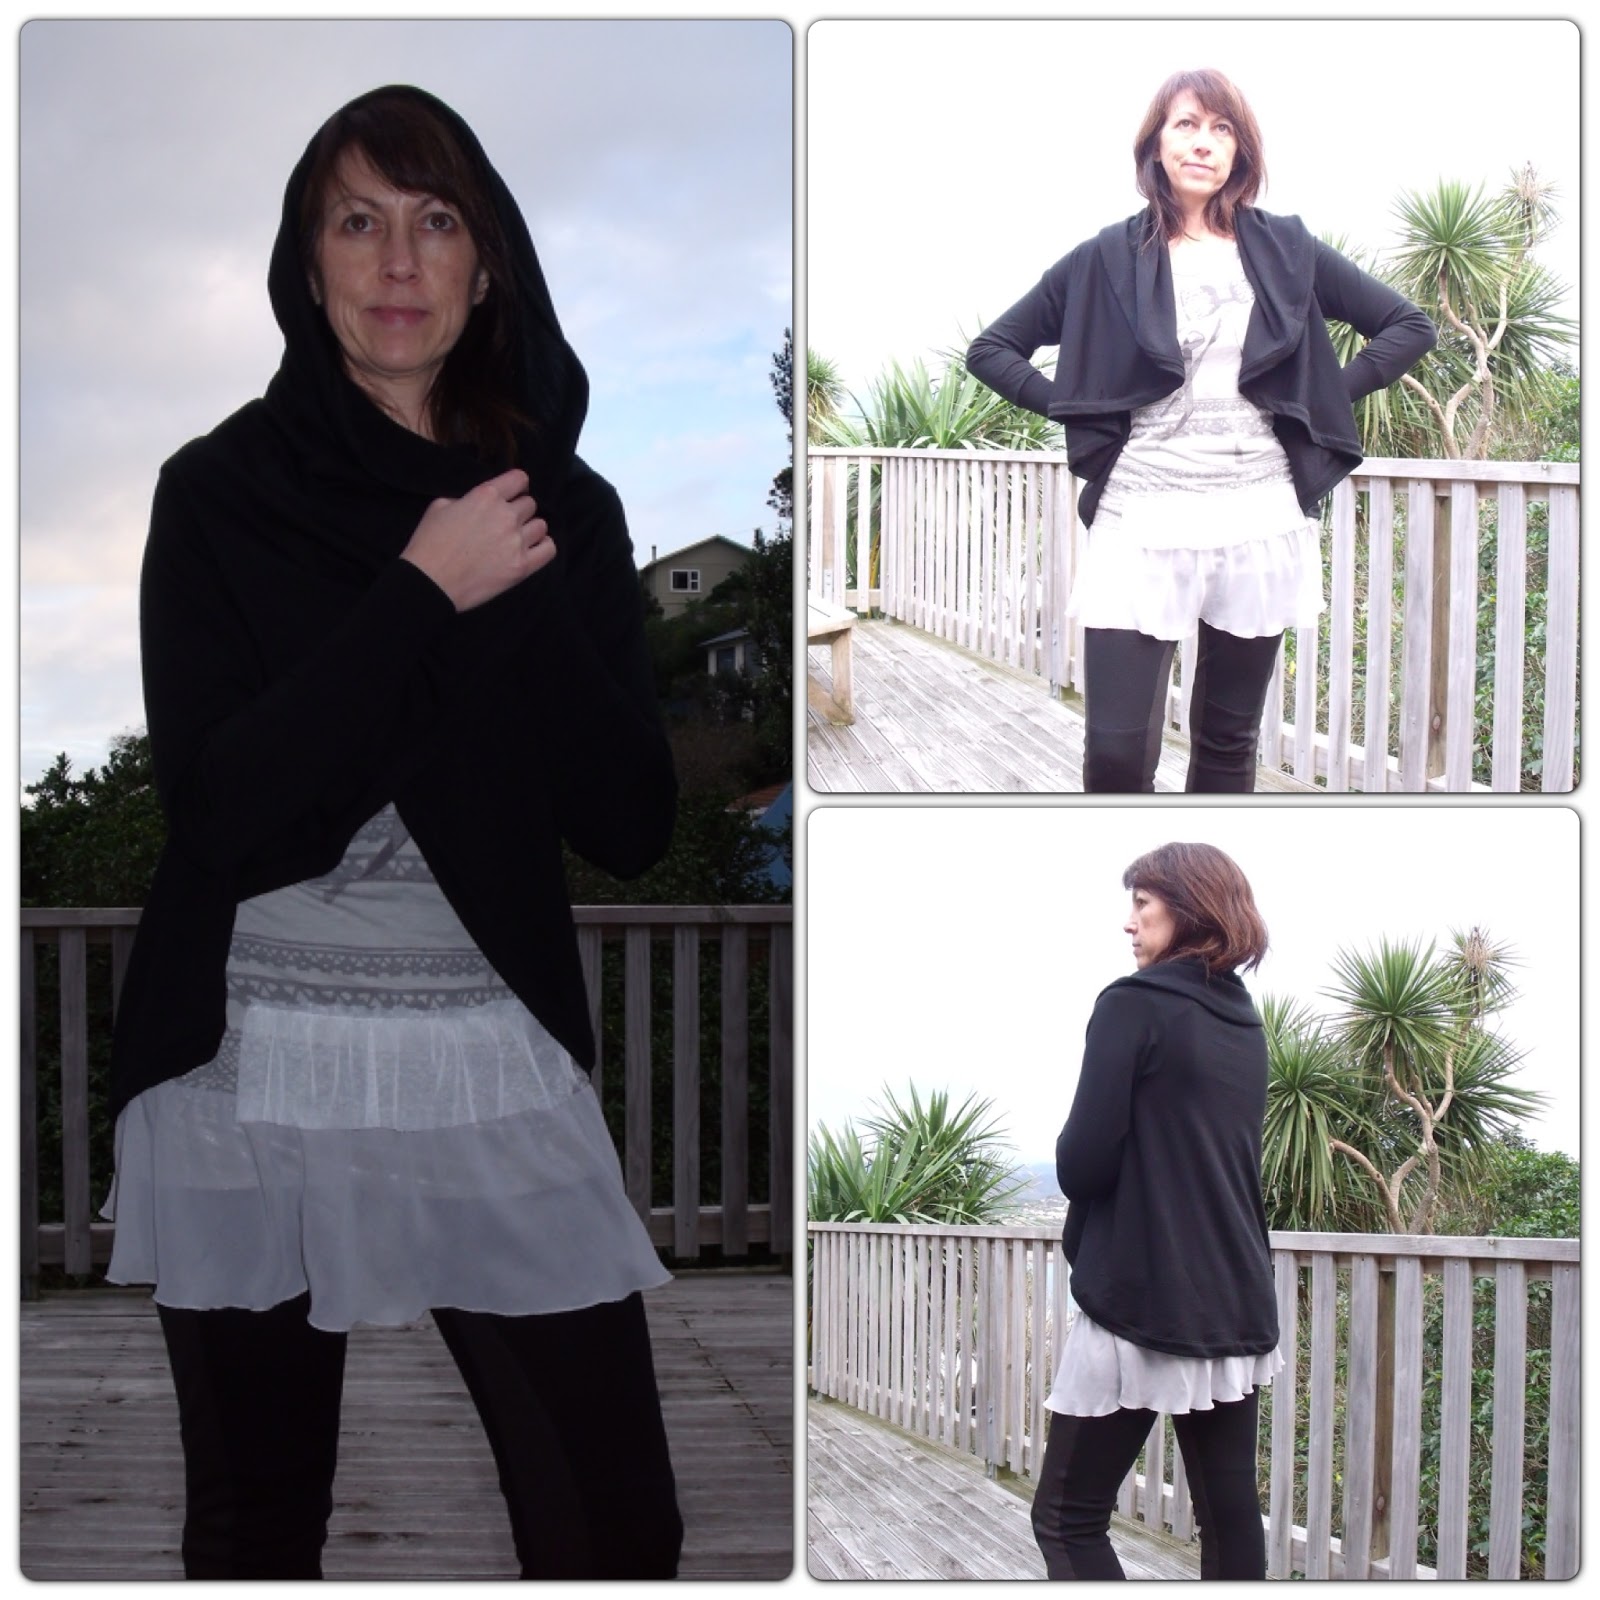
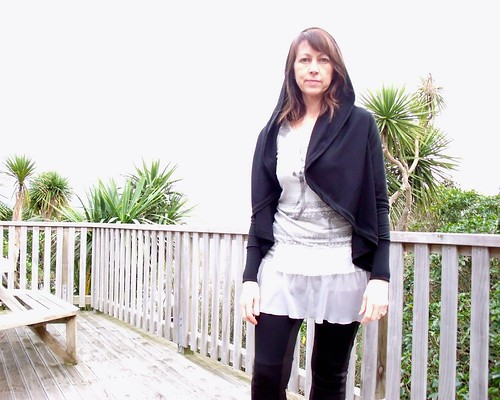
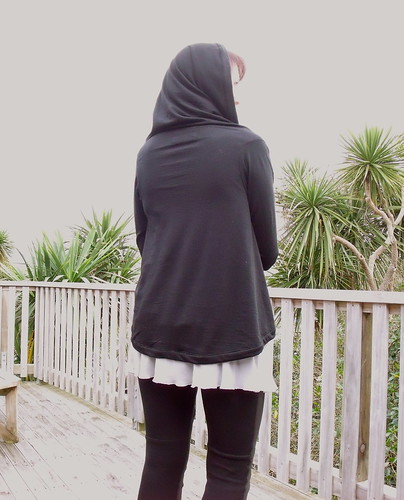
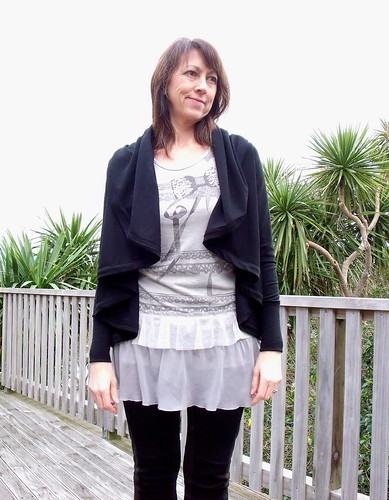
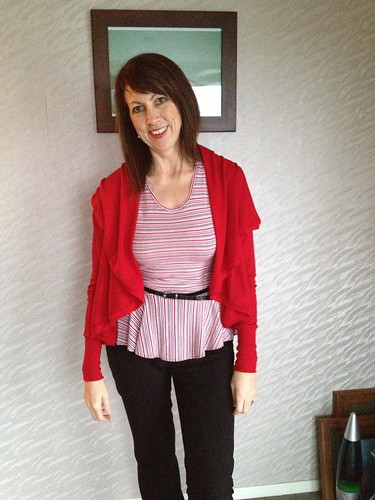
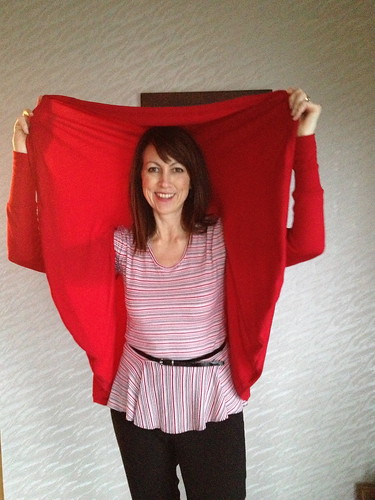
I just couldn't resist! I had to have a second Circle Top by Papercut Patterns. My first was a lovely rich red - view that one here.
Again I made the XS and fitted the cuffs, cutting the side seams 5/8" on each side. The pattern instructions say to slight stretch the outer band as attaching, I did that for my red one but this time I didn't - not sure if you can really notice.
Don't you just love that full circle!
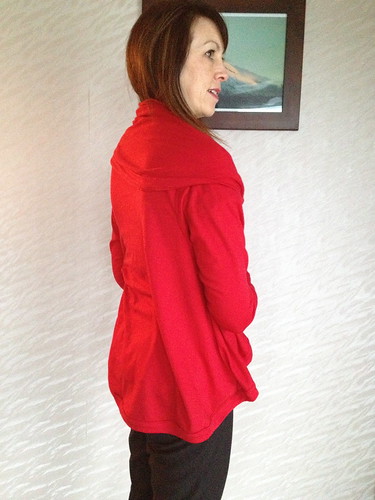
The great thing about merino is that while it does have a right and wrong side it is not super obvious. That really makes a difference for this pattern, in that you can't tell that is obviously the inside of the top that can be seen.
I think could be worn with a belt if you wanted to have a permanent closure - that could be quite a nice styling option. Must try that!
The top could be dressed up or down. This is my weekend version with a long t-shirt and leggings. It will look great over a dress for the office.
I love my Papercut Circle Top :-)
Monday, 26 August 2013
Circle Top Take 2
Labels:
Casual,
circle top,
Finished Projects,
Indie Pattern,
merino,
Papercut Patterns
Location:
New Zealand
Friday, 23 August 2013
Butterick for a change
Earlier in the year I took advantage of a Butterick pattern sale and bought about five or so patterns, two of which were for knit fabrics.
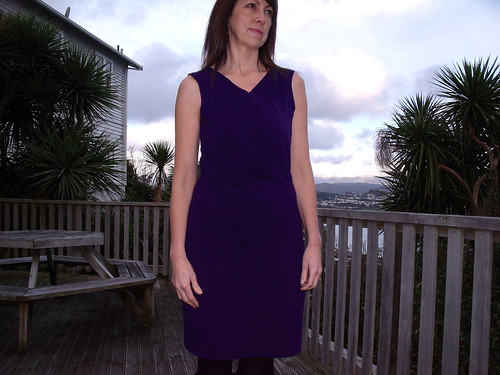
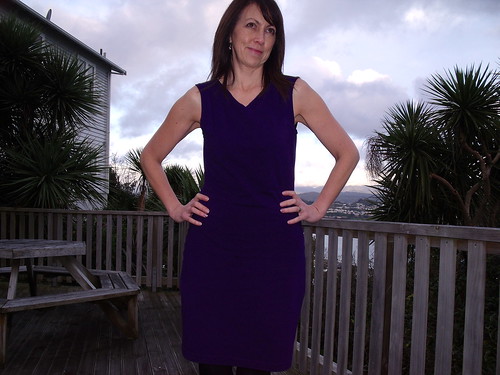
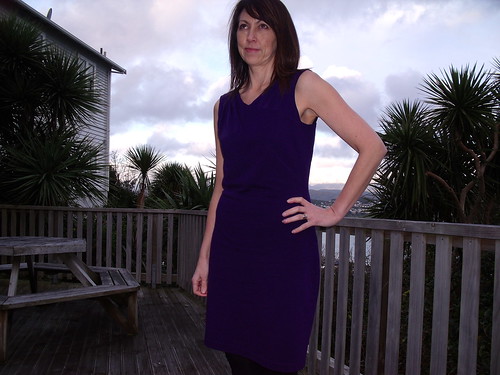
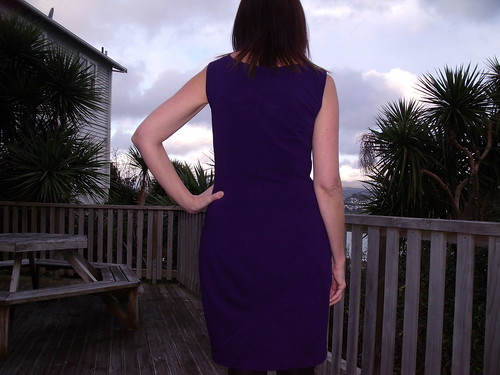
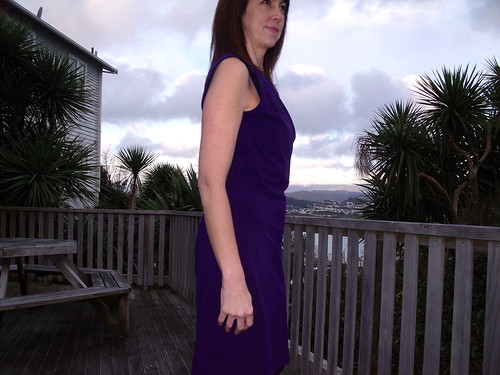
I had some purple double knit jersey in my stash that I had bought to make a hoodie, but never quite got there! I figured that the purple would look better in a dress than a hoodie anyway. Not that these photos do the colour any justice - see those clouds, need I say more!!!
This is Butterick B5915, described as a semi-fitted, lined dress (close-fitting through bust). I selected to make a size 12, based on my bust measurement. Knowing that my hips wouldn't fit I graded the patterns out to a size 14 for my lower half.
I didn't make a muslin for this one - it's a knit dress! That was the bit that fooled me. While the shell of the dress was a double knit jersey I had purchased tricot for the lining - as recommended by the pattern. Having never used tricot before I wasn't really sure what I was in for, but I quickly worked out that the tricot is what gives the dress the structure it needs.
At one stage I considered whether I could make the dress without the side zip - it just seemed weird inserting a zipper into a double knit jersey fabric. If the dress was lined with a stretch satin or similar then the zip probably wouldn't be required. The invisible zipper actually went in smoothly.
Before putting in the zipper I basted the side seams together so I could do a fit check, particular for my hips. What would you know, it was too big! So I brought the hips back into a size 12, but my hips are so NOT 36".
I didn't cut the lining until I had the shell of the dress complete and knew what fitting changes I had made. For the lining I cut a perfect size 12 all the way through, BUT I could have done with grading the lining out to a size 14 for the extra room. Sure it fits and I can move around but it just feels a little snugger than it could be.
Final thought ... the dress doesn't have to be made with a knit fabric, it would work just as well with a woven fabric with a bit of drape to it, so the pleats in the shoulder don't appear stiff - not that you can really see the shoulder pleats in these photos ... and this is my second attempt at getting some photos, but the damn weather just doesn't want to play my game when I have time! So this is all I got today.
Labels:
Butterick,
double kit jersey,
Dress,
tricot
Location:
New Zealand
Monday, 19 August 2013
Little Red Hood
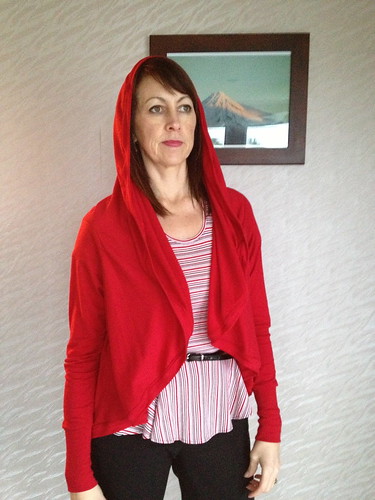
I have been eyeing up the Papercut Patterns for a wee while and the other day I gave in. I was looking for a cardie or similar to wear with my new hummingbird.
I headed off to The Fabric Store to their 40% sale, looking for some merino! But what would you know the only fabric that wasn't on sale was the one I liked! So what the hell, I got it anyway along with the Circle Top pattern.
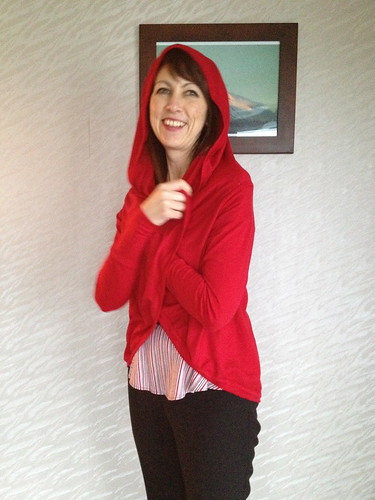
The red is as rich in real life as it looks in the photos.
It is such a simple concept ... it is literally a full circle, which is cut on the fold. A hole is cut for the sleeves which are inset and sit on the top of my shoulder - I was so surprised at how the sleeves don't fall off my shoulders.
It is a real mission, or maybe just takes some getting use to, working out how to wear the top of the circle. It is easy to wear caped over my head. I've tried rolling it into a collar or draping it back like a big collar.
I made a size XS. The only alteration I made was to the cuffs - bringing the width in by 5/8" on both sides to make them fitted. I like a long sleeve but I hate it when cuffs are loose and baggy! The depth of the cuffs are awesome at 6".
The band around the entire edge of the circle is applied with the bias tape principle and is real easy to apply. It is most definitely one of the garments that isn't meant to have the perfect placement. It is easy to snug into it! I particularly love the hood and is easy to wear over a dress or throw on for extra warmth.
This is my first Papercut Pattern but it most definitely won't be the last - I've got my eye on a few others but I need to get through my current 'to do' first!
Location:
New Zealand
Sunday, 11 August 2013
Sweet Lola
Lola, la-la-la-la-la-la Lola - come you you can't help but sing along! Don't tell me you don't know that song?!
Okay, okay I've finished singing now. Let me talk about the Lola dress by Victory Patterns. The dress is described as a comfortable slip on dress with raglan sleeves, ribbed hem bands, front neckline “V” detail, and oversized wrap around pockets.
I prefer to have a more fitted look so considered carefully the sizing. I went with a size 4 for the top and a size 6 for the skirt. I must say the sizing chart was spot on! I like how the size of the finished garment is shown directly under the body measurement chart.
I really like the fit of the bust area, but I feel like the shoulder/sleeves could do with a bit more ease.
I was thinking about this on my drive home from work and had a bit of an epiphany! SBA (small bust adjustment)!! I still need to have the room for my shoulders, which I'll say are normal (haha, as if there is such a word). If the shoulders fit, the bust is swimming - if the bust fits the shoulders are always too small, which is all good if the garment is sleeveless. Now to Google SBA and get my method sussed.
Back to my Lola! I don't often visit Spotlight, other then to buy haberdashery when I'm on that side of town. I got side-tracked on my last visit and found some double knit jersey for just $10 p/m - it's more like a ponti than a sweat-shirting. The weight of the fabric is perfect for the Lola the blue was irresistible, but the ribbing choice was a different story. In the end I decided that I could use the same fabric for the bands a the dress. I am really happy with how that turned out.
My favourite feature about this dress is the wrap-around pockets. This is because there is no side seam to faf around with, 'cause next to my SBA I always have to faf with the hip shape.
This Lola is dressy enough that I can wear it to work - I omitted the neck "V" so it doesn't have that casual look. I definitely plan on making another one that is more casual, a looser fit that can be worn over jeans - that one can have the wee neck "V" included.
Everyone needs a Lola for sure!
Monday, 5 August 2013
Winter Swap Goodies
I have recently participated in the INAUGURAL WINTER SWAP 2013 hosted by Penny at Dresses and Me.
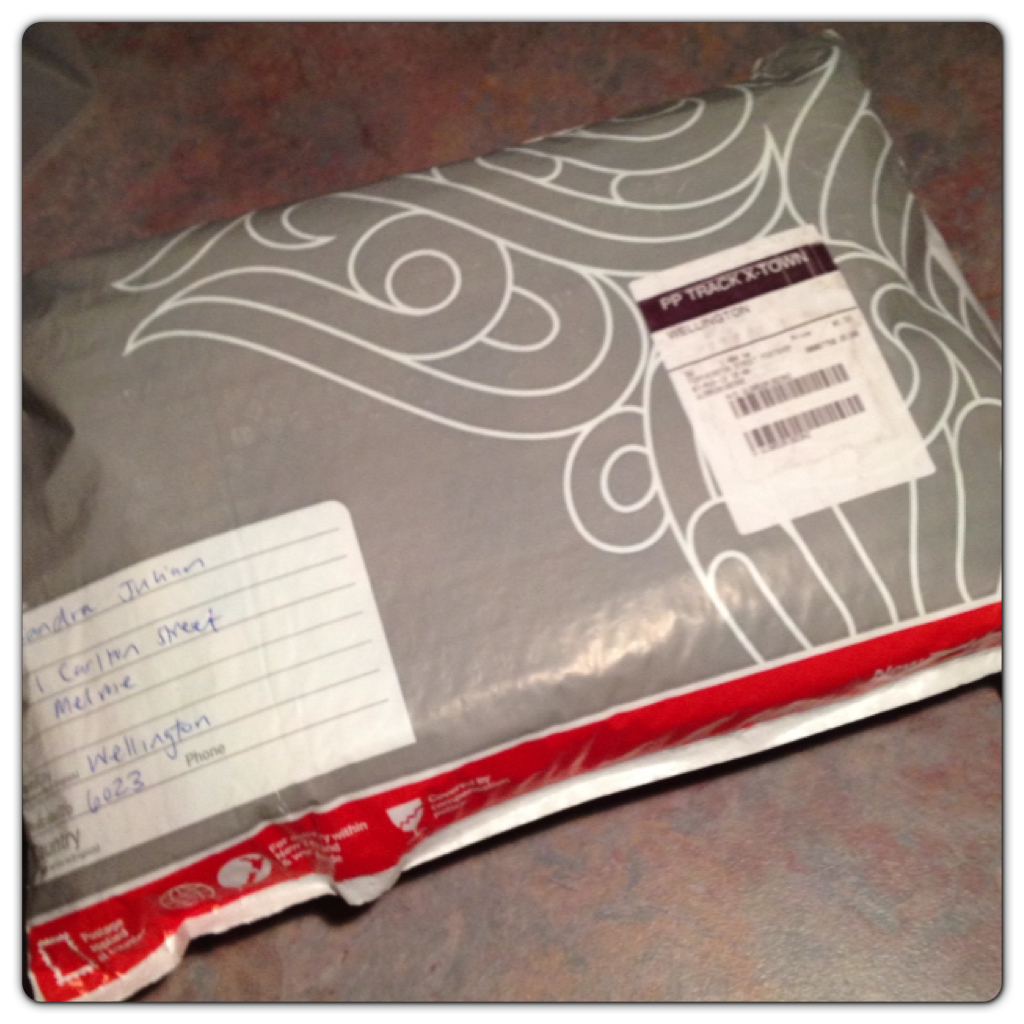
I had never participated in a fabric swap before but Penny outlined really clearly how it would work. I really like the idea of receiving a parcel that would be completely mysterious.
After a really busy week at work I arrived home on Friday evening to find my parcel waiting for me :-)
My parcel was a treasure chest of sewing goodies ...
I love this wee purse size sewing kit - just perfect.
These cute buttons, pack of 20cm zippers and pretty bias - the boats and polka dot bias is steering me toward a shift dress.
I have never seen this magazine before and have already read it cover to cover.
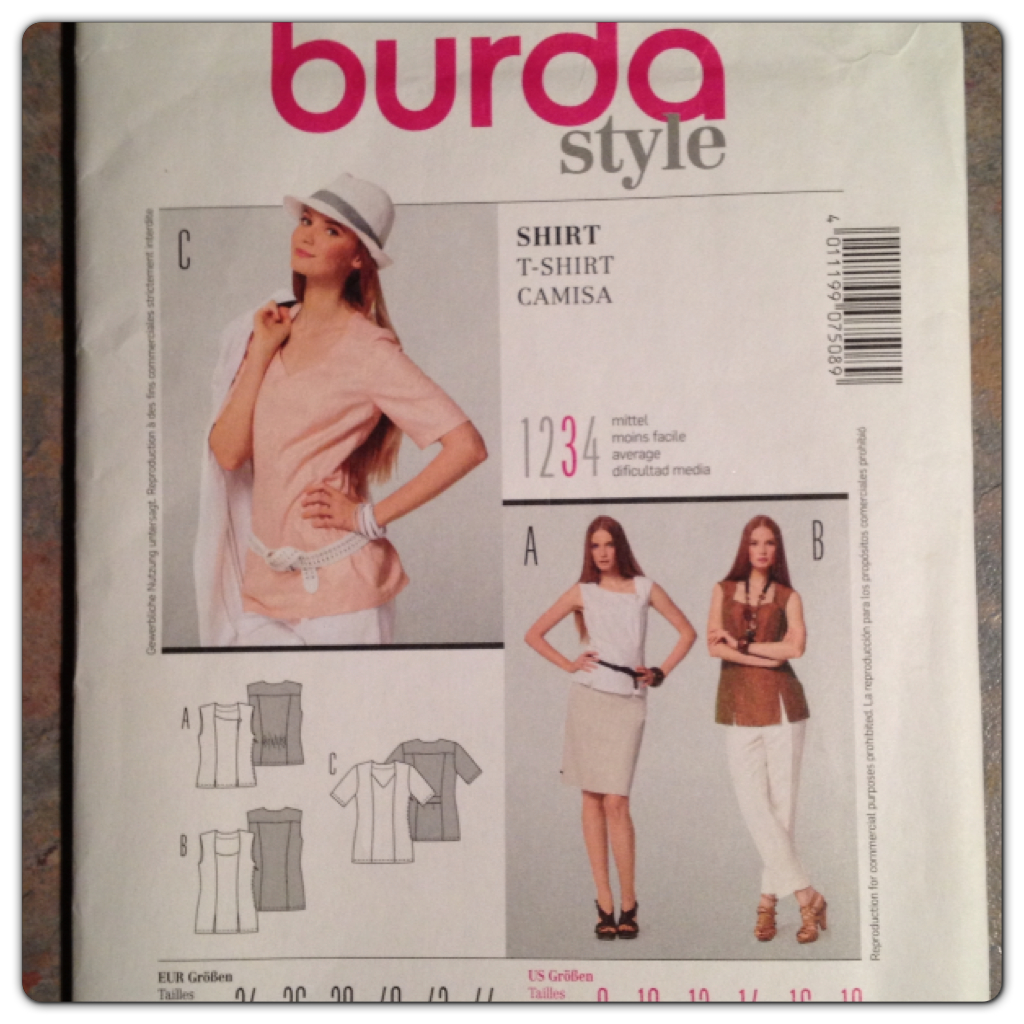
A Burda pattern - I'm really liking the look of view A
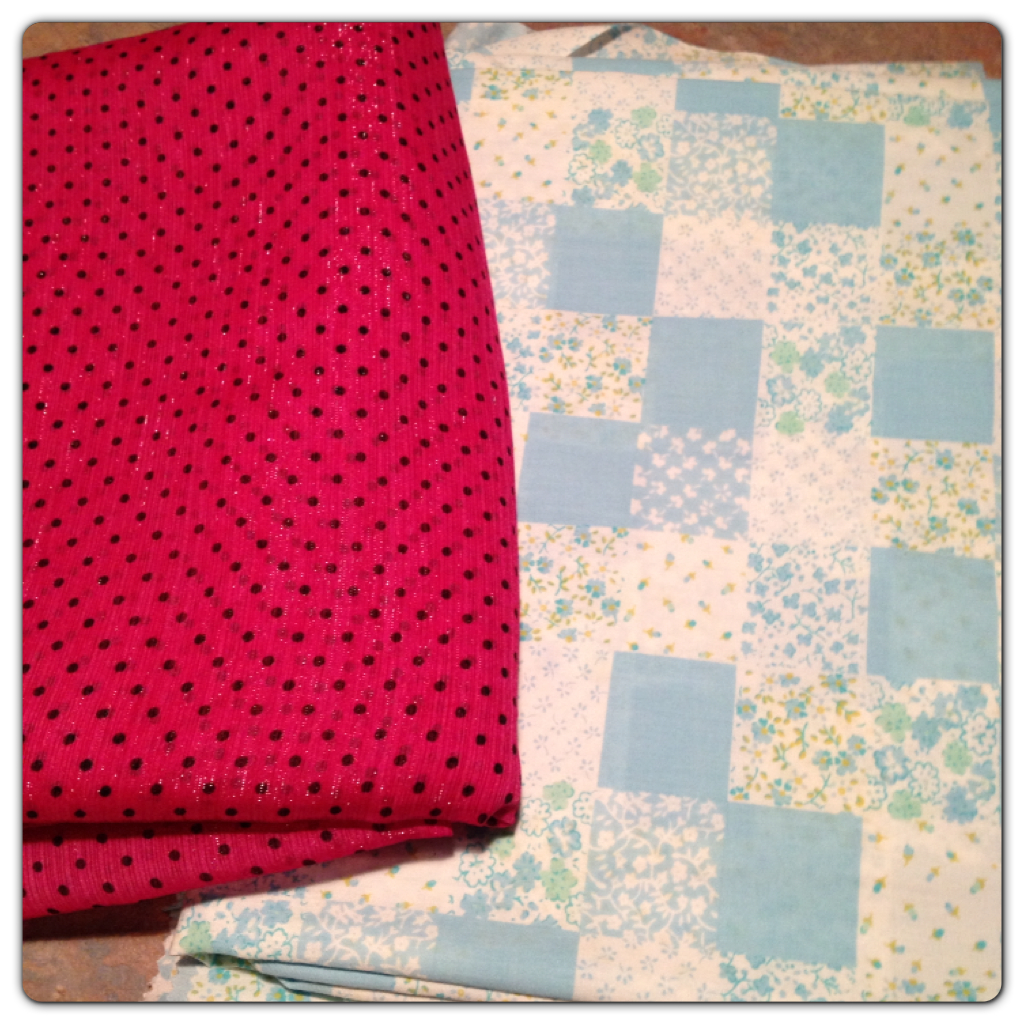
Two pieces of fabric. The small polka dot almost looks red in the picture, but is actually cerise pink, I would say a chiffon and it sparkles, not that you can tell from the picture. The other piece is a cotton.
The last is a miniature hot water bottle for those cold winter nights. The perfect size for my lap while sitting at the sewing machine :-)
All wrapped up together with this charming card and envelope - most definitely a case of card envy!!!
Thanks so much Trees for being my Winter Swap partner :-)
Sunday, 4 August 2013
Hummingbird Cake
Well I'm finally here to share my Hummingbird after the sneek peek in my last post about the Cake sew-a-long.
The shape of the Hummingbird really appealed to me, although I have never really been a peplum fan! After stalking the Hummingbird in the blogisphere I thought the nature of the knit fabric would mean that it would sit rather nicely rather than flaring out. I don't like the thought of accentuating my hips!
I found this rather yummy striped merino at The Fabric Store sale. As always it is a dream fabric to work with :) I really love the way it fells, wears and falls.
As with my Tiramisu I am between size 30 and 35. To achieve a snug fit I chose to make up the size 30. Before starting I knew that I wanted to change neckline and the sleeves. I lengthen the sleeve by 1" and took 1/4" off at each shoulder to give a wider look to the neck. Perfect if you ask me :-)
Cake Patterns provide for fit checks at different stages during construction. Whilst I did do a fit check before I attached the peplum, the waist it is still about 1/2" longer that it should be. I've tried to hide this by styling with a belt :)
I think this would work perfectly if the waist to my skirt was more body hugging - as you can probably see there is a wee shelf just under the belt - that's the top of the skirt :-(
I love the skirt shape and style, but it could have done with another 1/4" taken off the waist and the band being twice as deep. I'm pretty sure that this is a skirt I WILL make again.
I Love my Hummingbird and can't wait for the weather to get a little warmer so I can wear it without a jacket or cardi.
The shape of the Hummingbird really appealed to me, although I have never really been a peplum fan! After stalking the Hummingbird in the blogisphere I thought the nature of the knit fabric would mean that it would sit rather nicely rather than flaring out. I don't like the thought of accentuating my hips!
I found this rather yummy striped merino at The Fabric Store sale. As always it is a dream fabric to work with :) I really love the way it fells, wears and falls.
As with my Tiramisu I am between size 30 and 35. To achieve a snug fit I chose to make up the size 30. Before starting I knew that I wanted to change neckline and the sleeves. I lengthen the sleeve by 1" and took 1/4" off at each shoulder to give a wider look to the neck. Perfect if you ask me :-)
Cake Patterns provide for fit checks at different stages during construction. Whilst I did do a fit check before I attached the peplum, the waist it is still about 1/2" longer that it should be. I've tried to hide this by styling with a belt :)
I think this would work perfectly if the waist to my skirt was more body hugging - as you can probably see there is a wee shelf just under the belt - that's the top of the skirt :-(
I love the skirt shape and style, but it could have done with another 1/4" taken off the waist and the band being twice as deep. I'm pretty sure that this is a skirt I WILL make again.
The fabric for the skirt was from my stash and I lined it with some simple acetate. I've got no idea what type of fabric it is or where I got it from.
I inserted an invisible zip in the skirt with my new machine foot - why didn't I have one of these before?????
I Love my Hummingbird and can't wait for the weather to get a little warmer so I can wear it without a jacket or cardi.
Labels:
Cake,
Hummingbird,
Indie Pattern,
merino,
peplum,
skirt,
Stash Fabric,
top
Subscribe to:
Comments (Atom)
